Replacing The Control Board
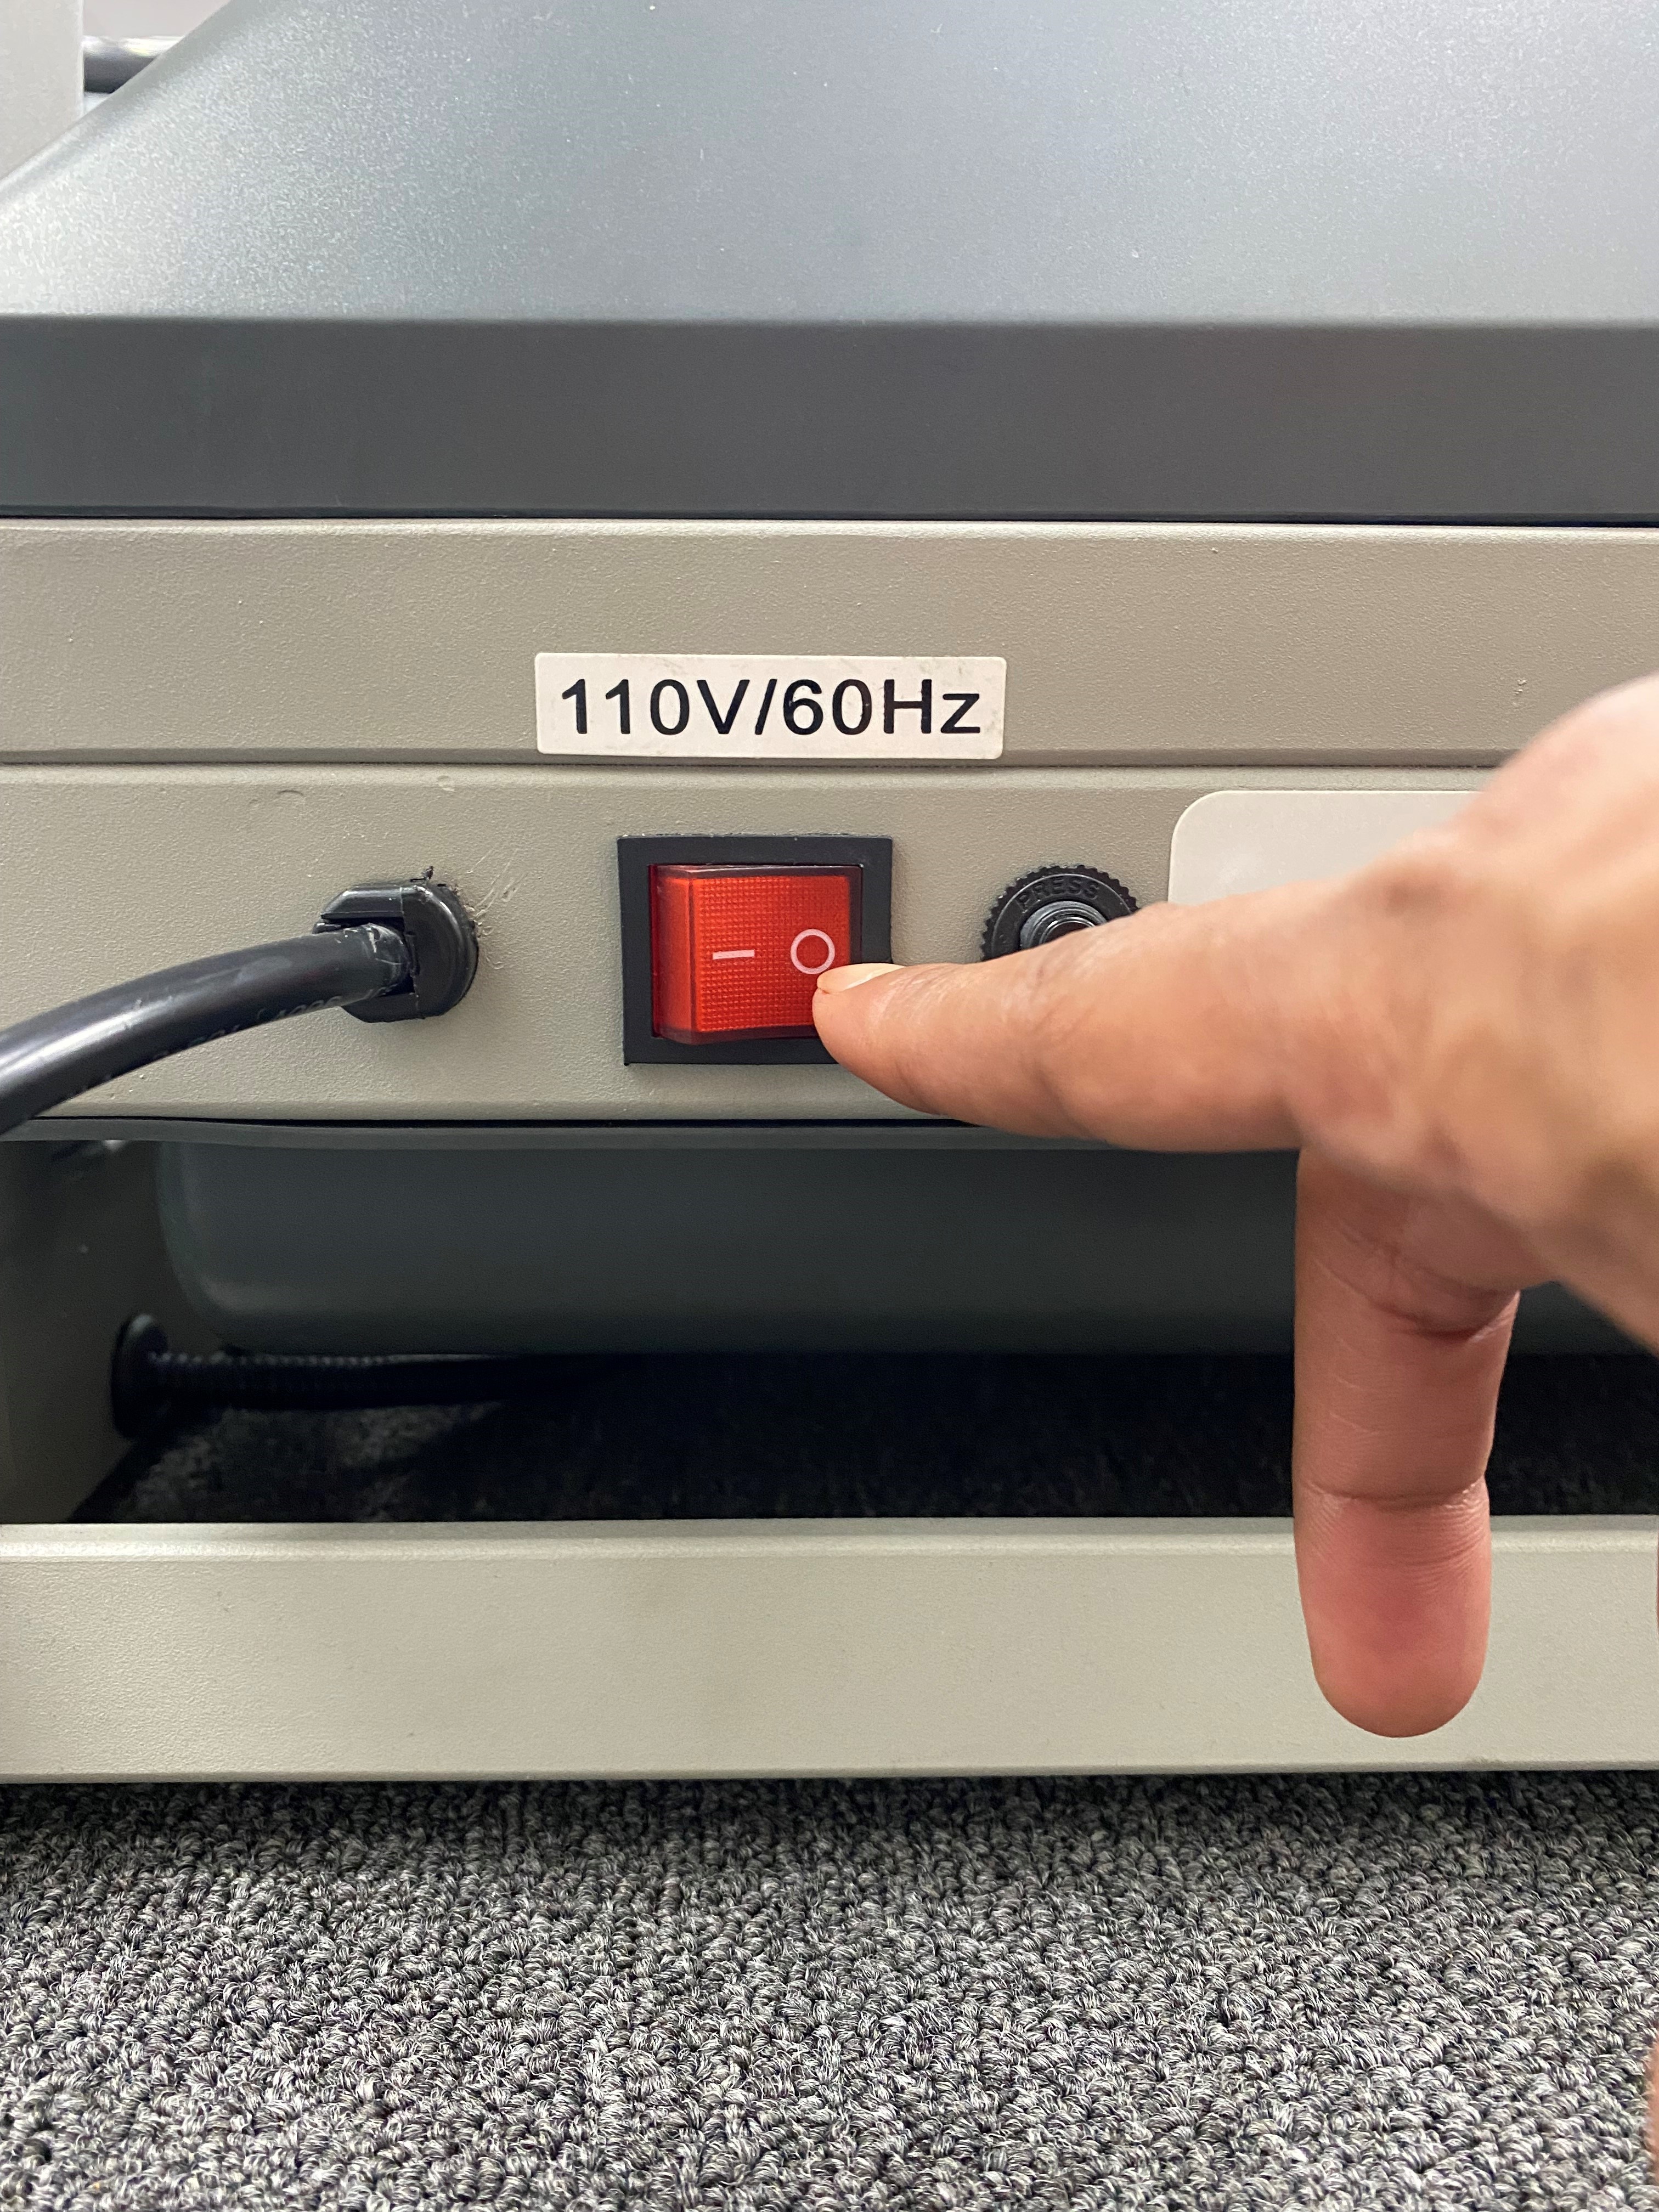
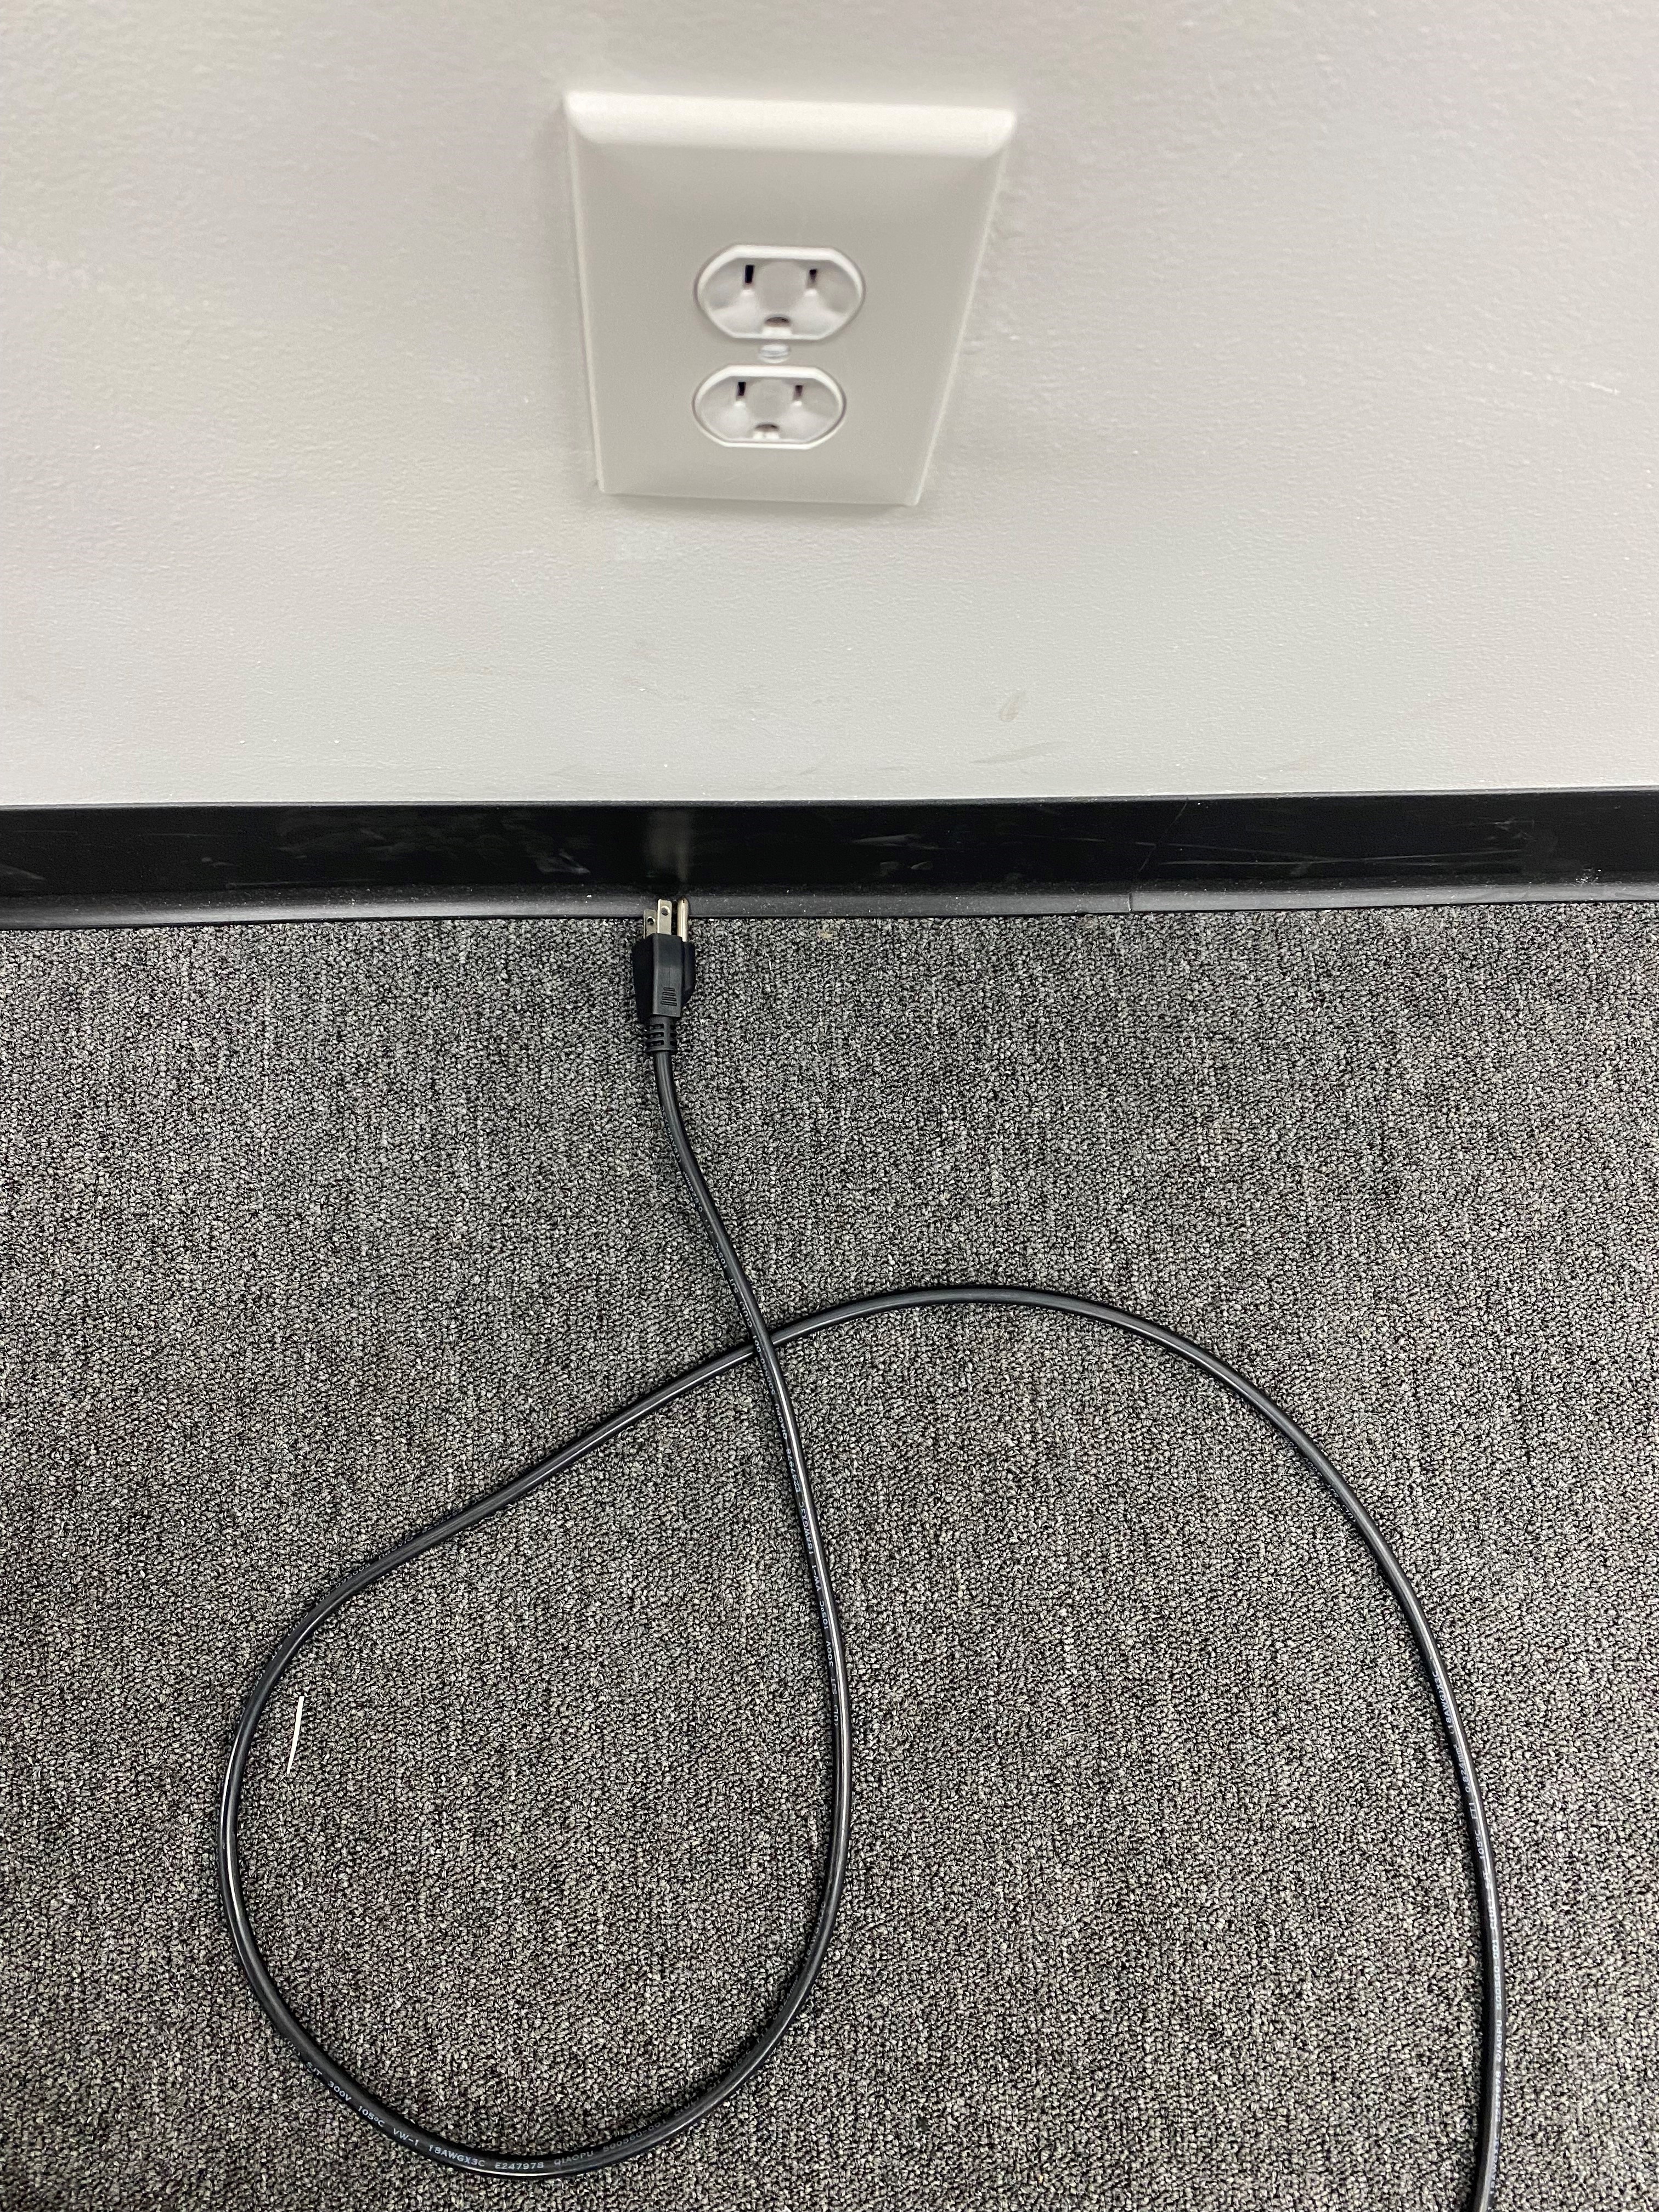
STEP 1: Turn off and unplug the treadmill from its power source.
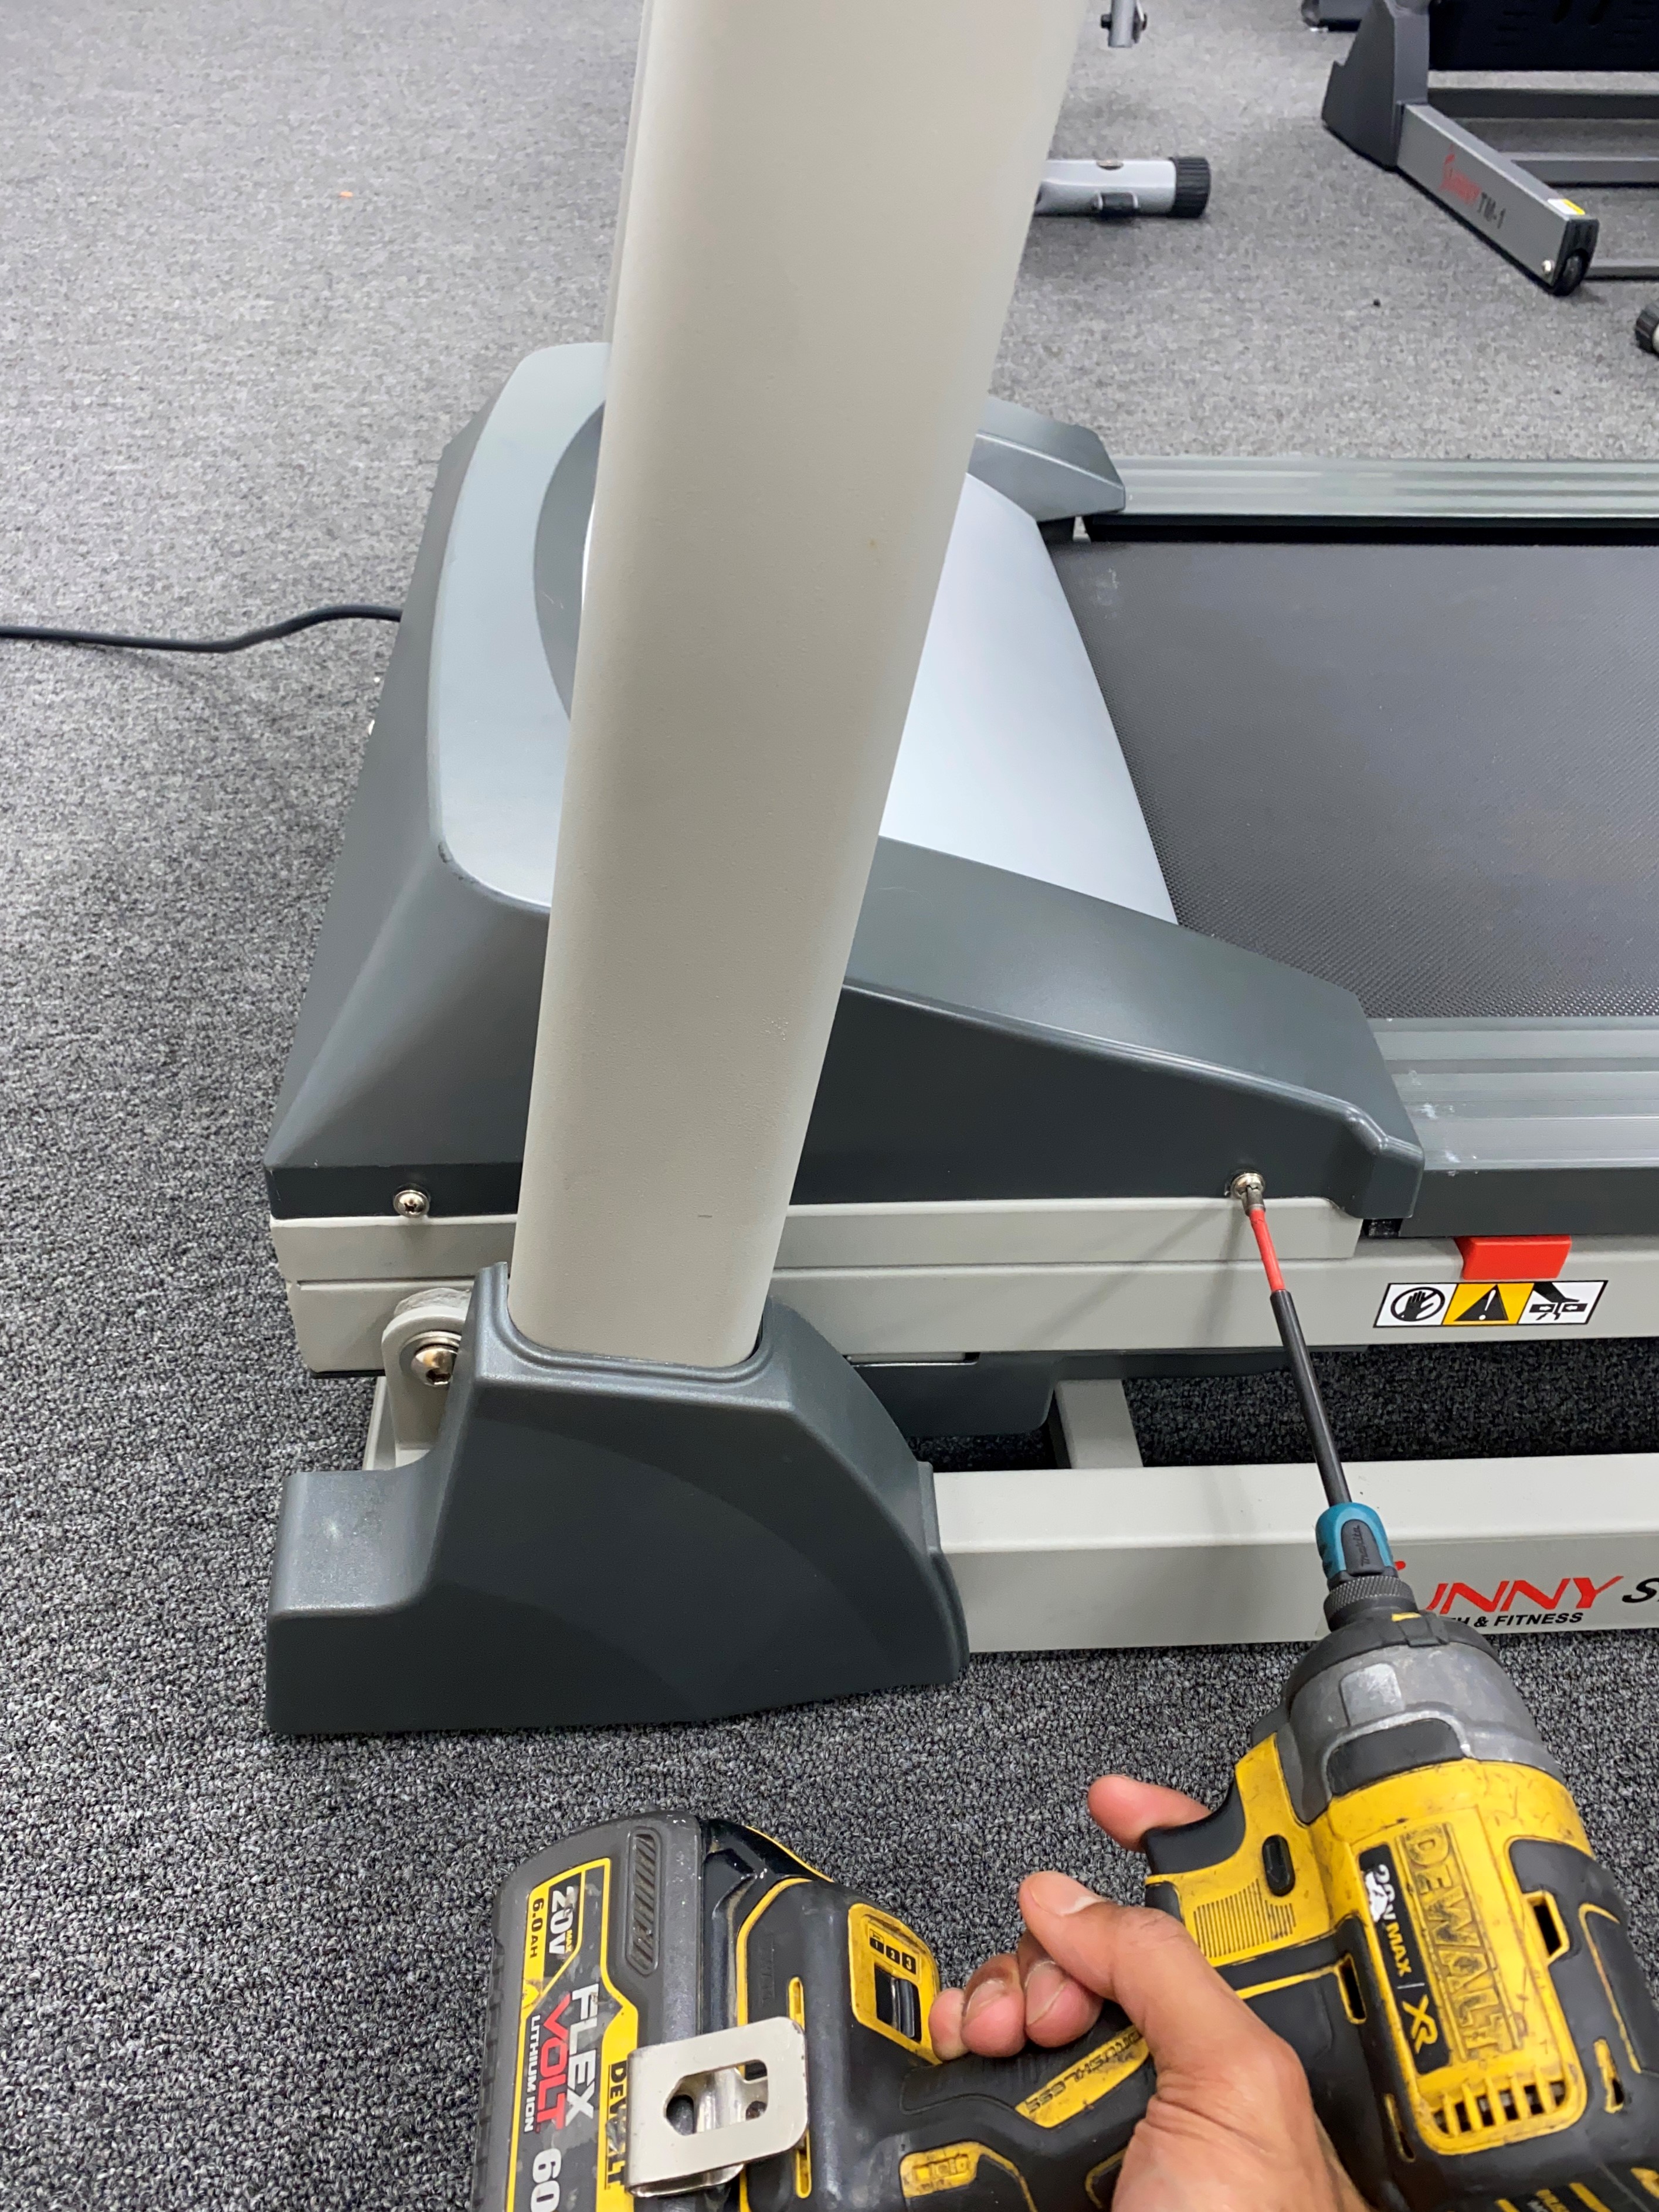
STEP 2: Remove all screws from the base of the treadmill frame.
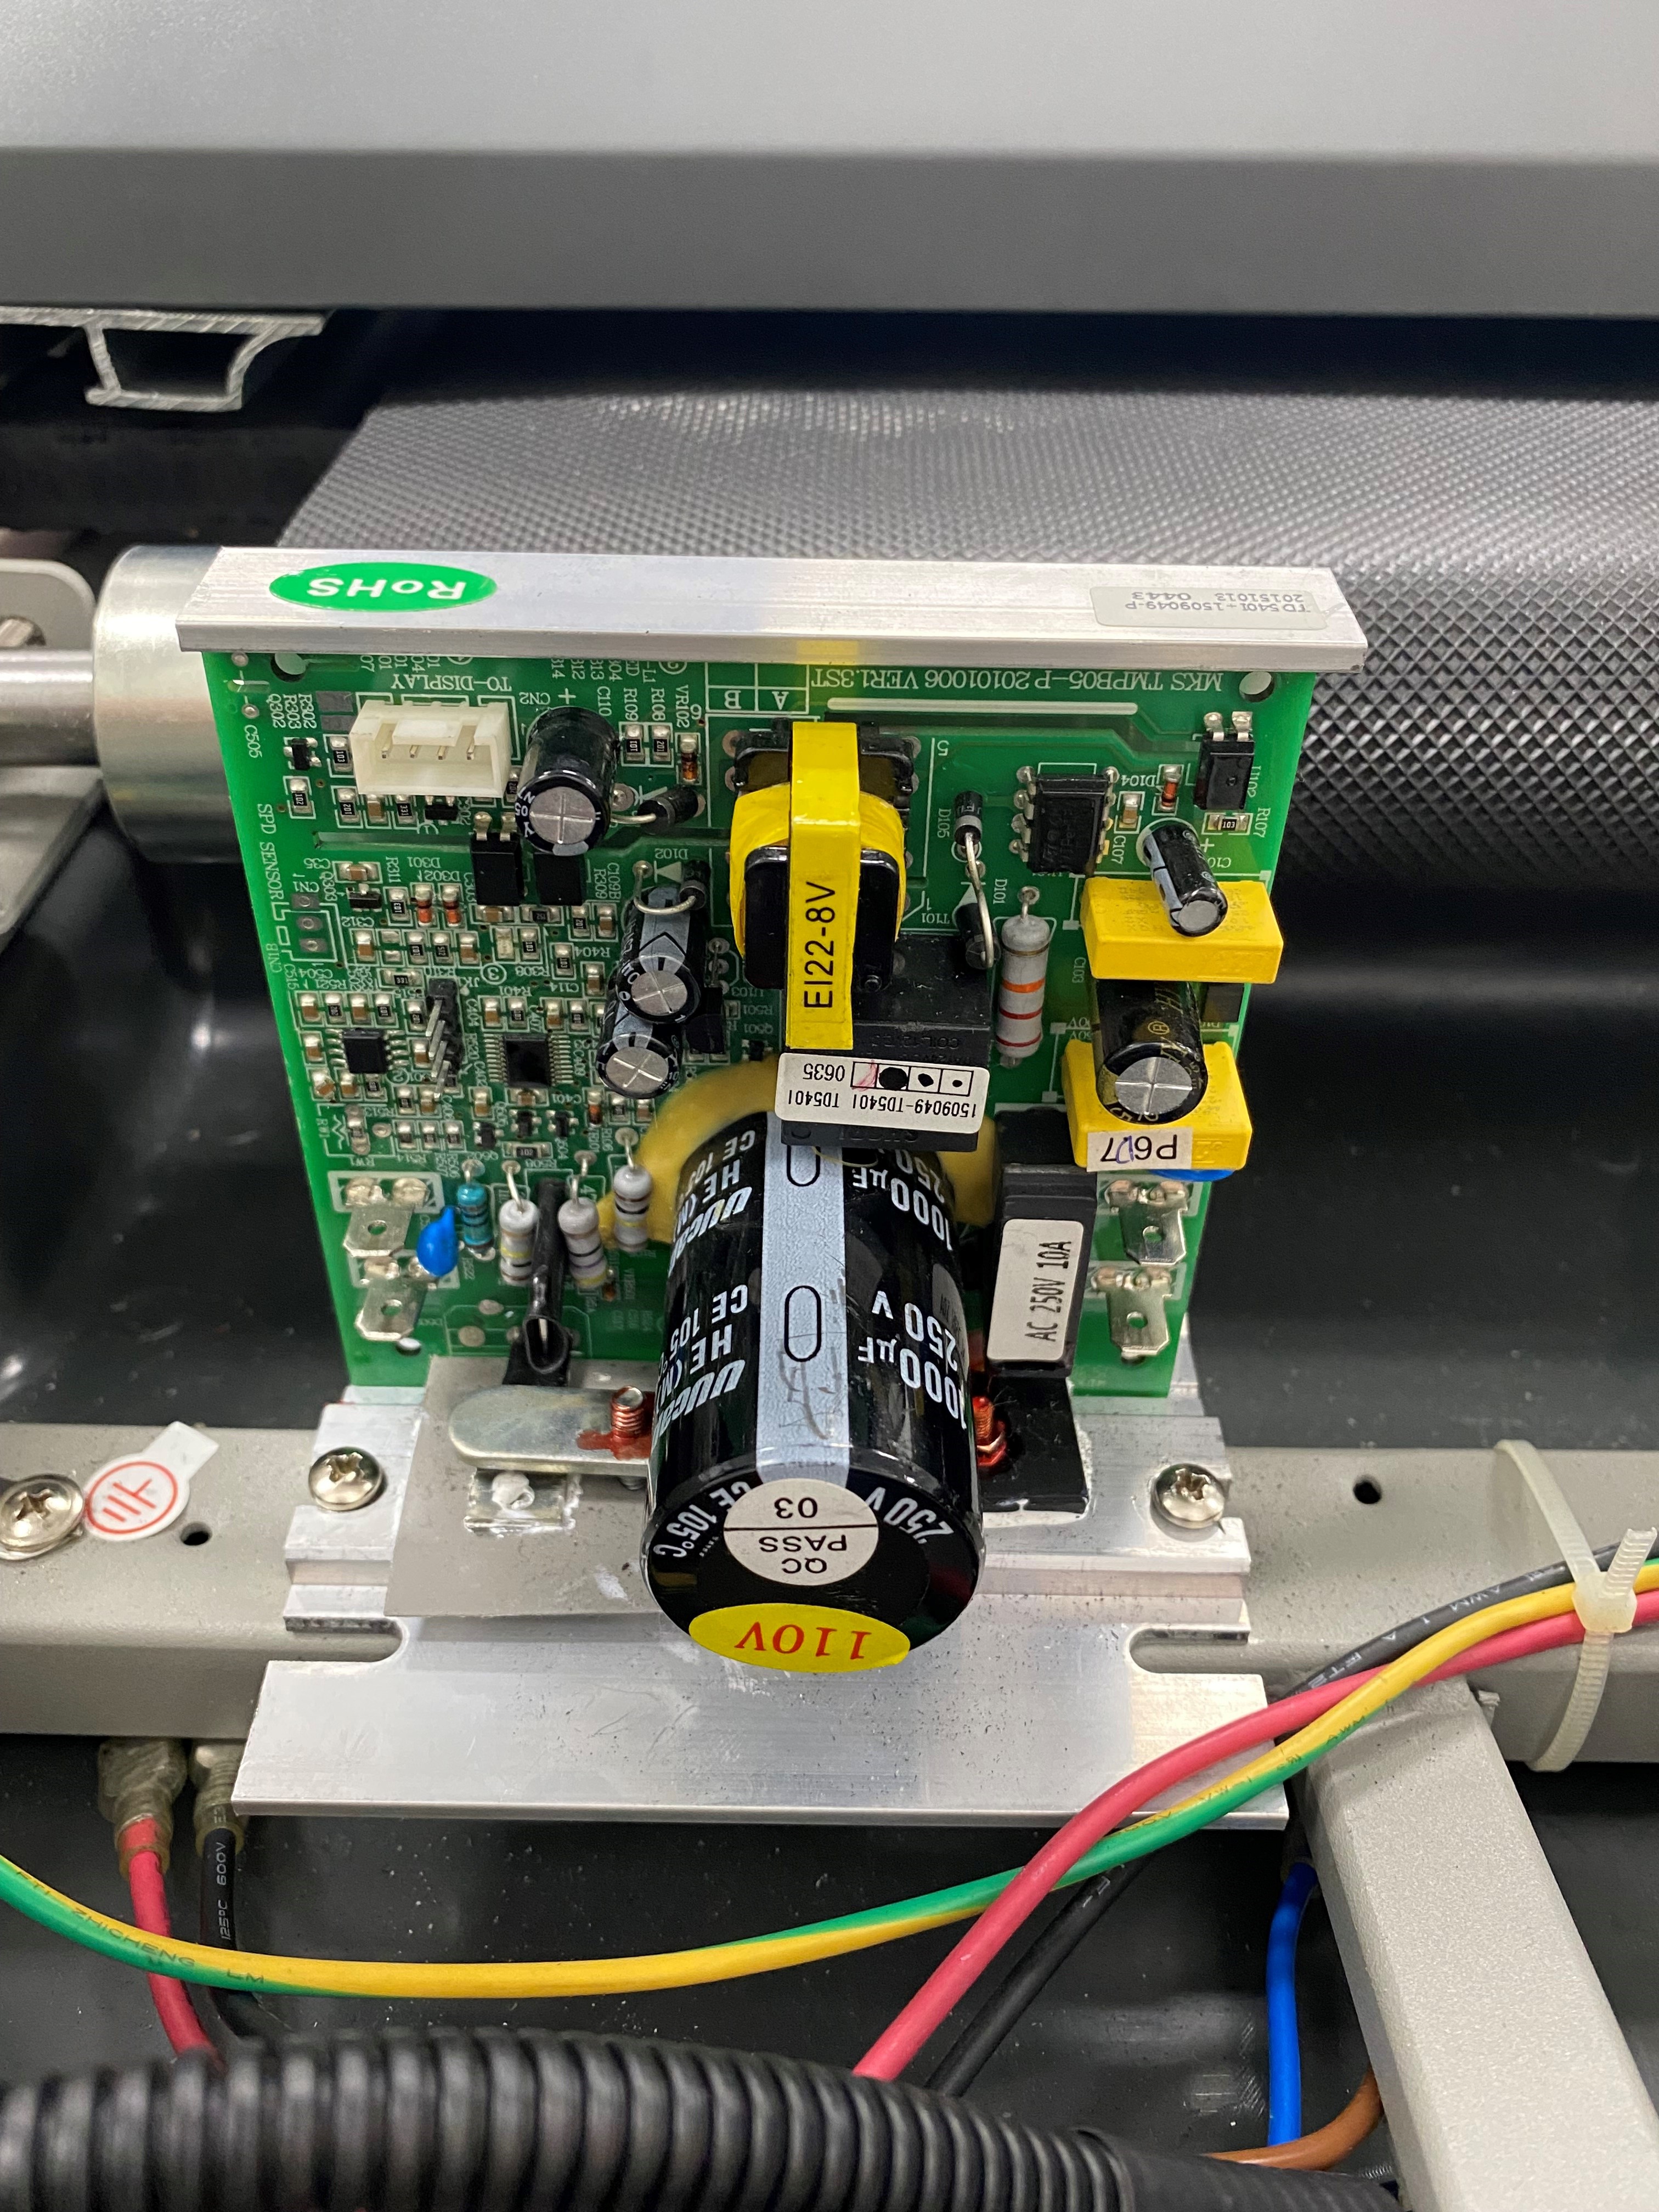
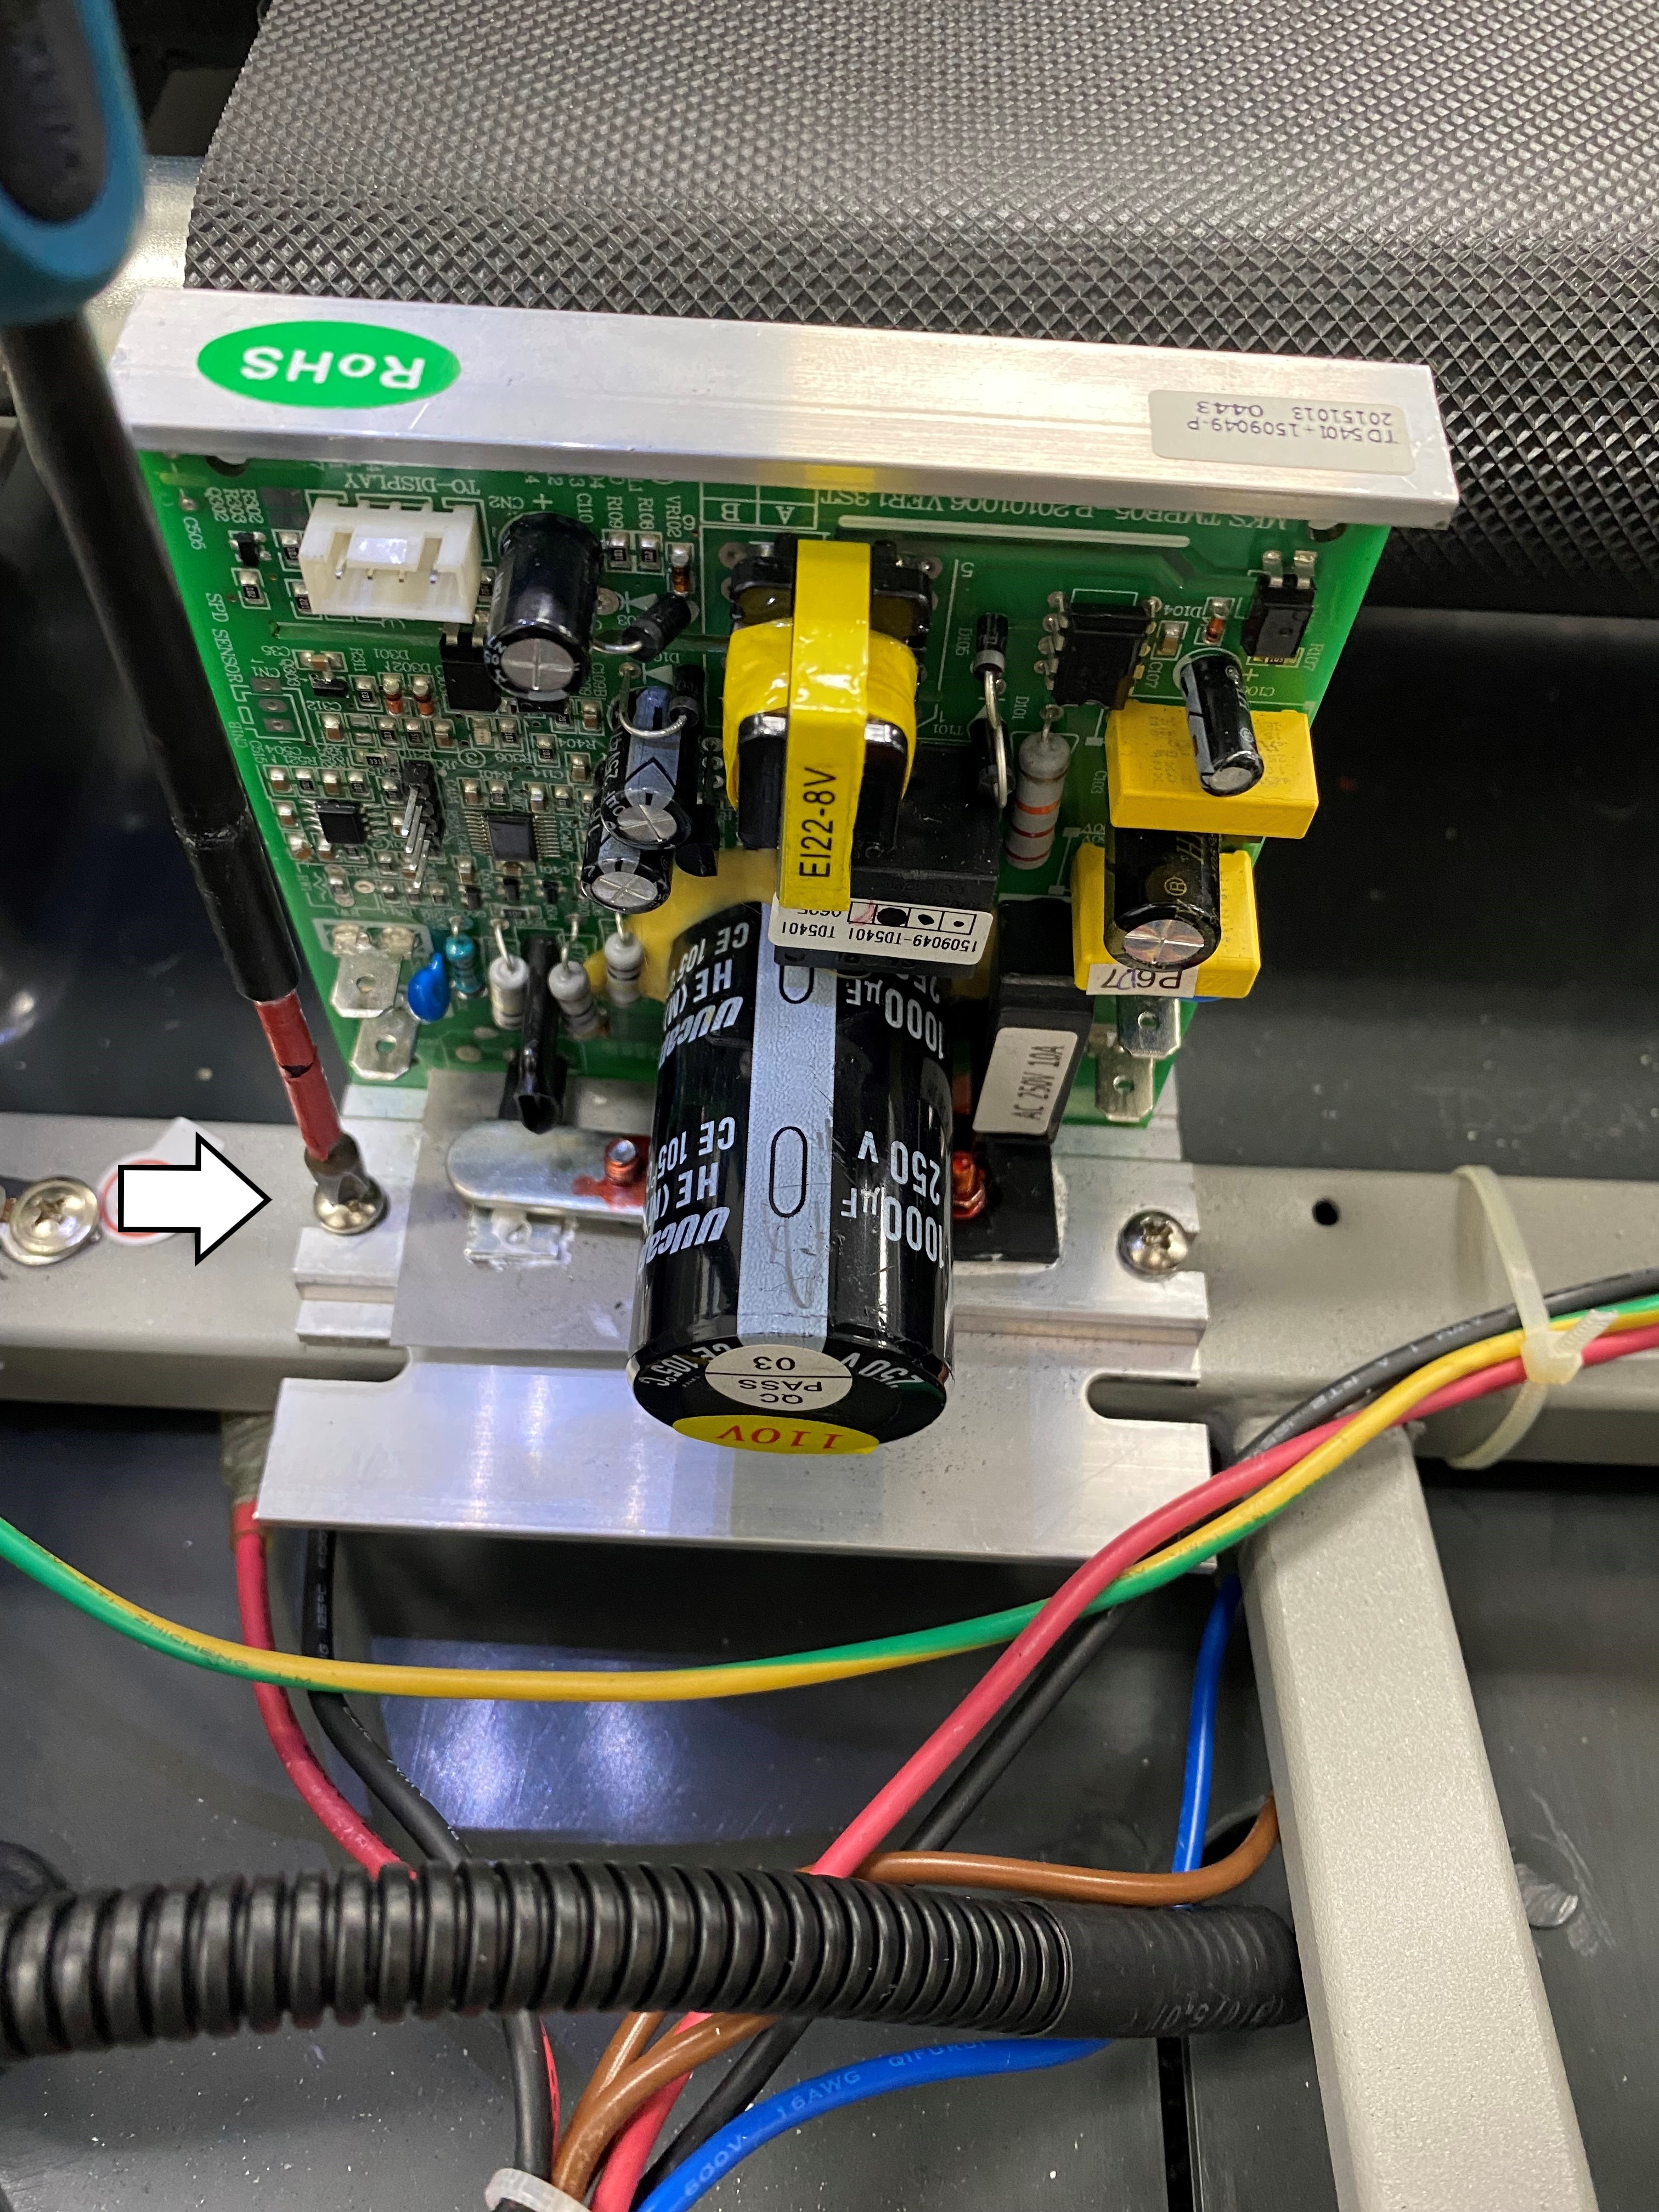
STEP 3: Take a photo (or make a note) of the control board so you can reference the wire positioning.
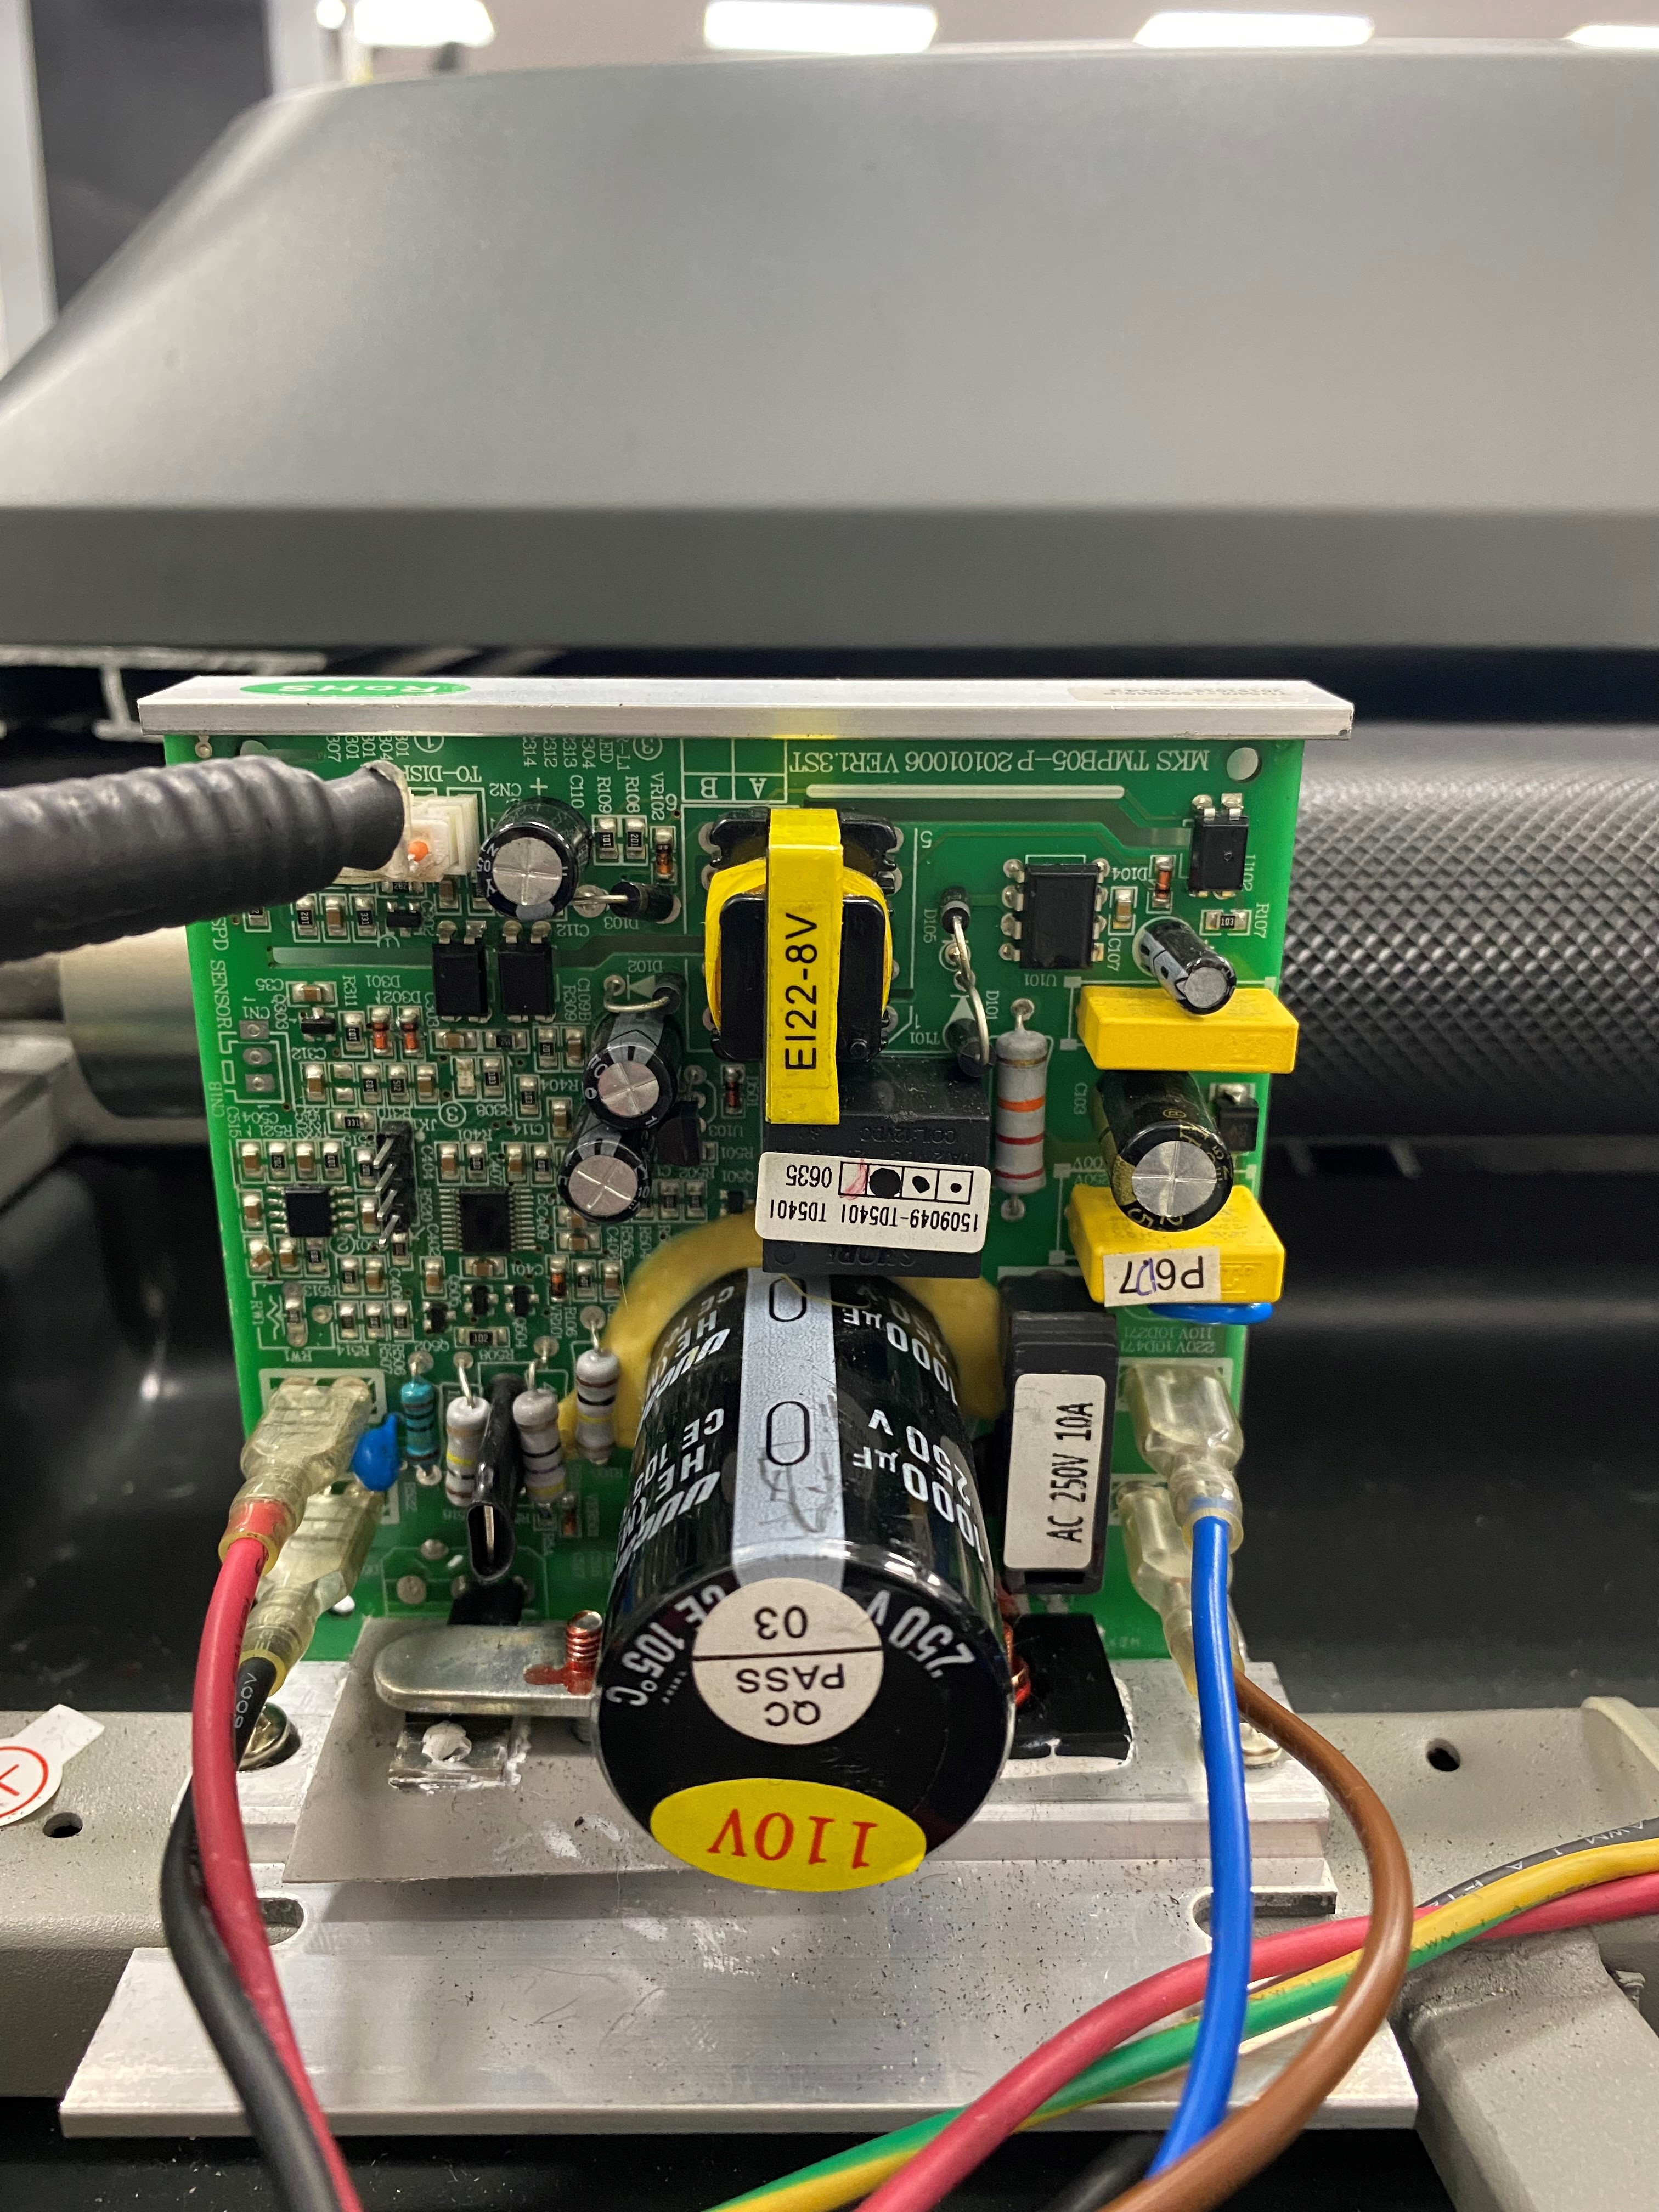
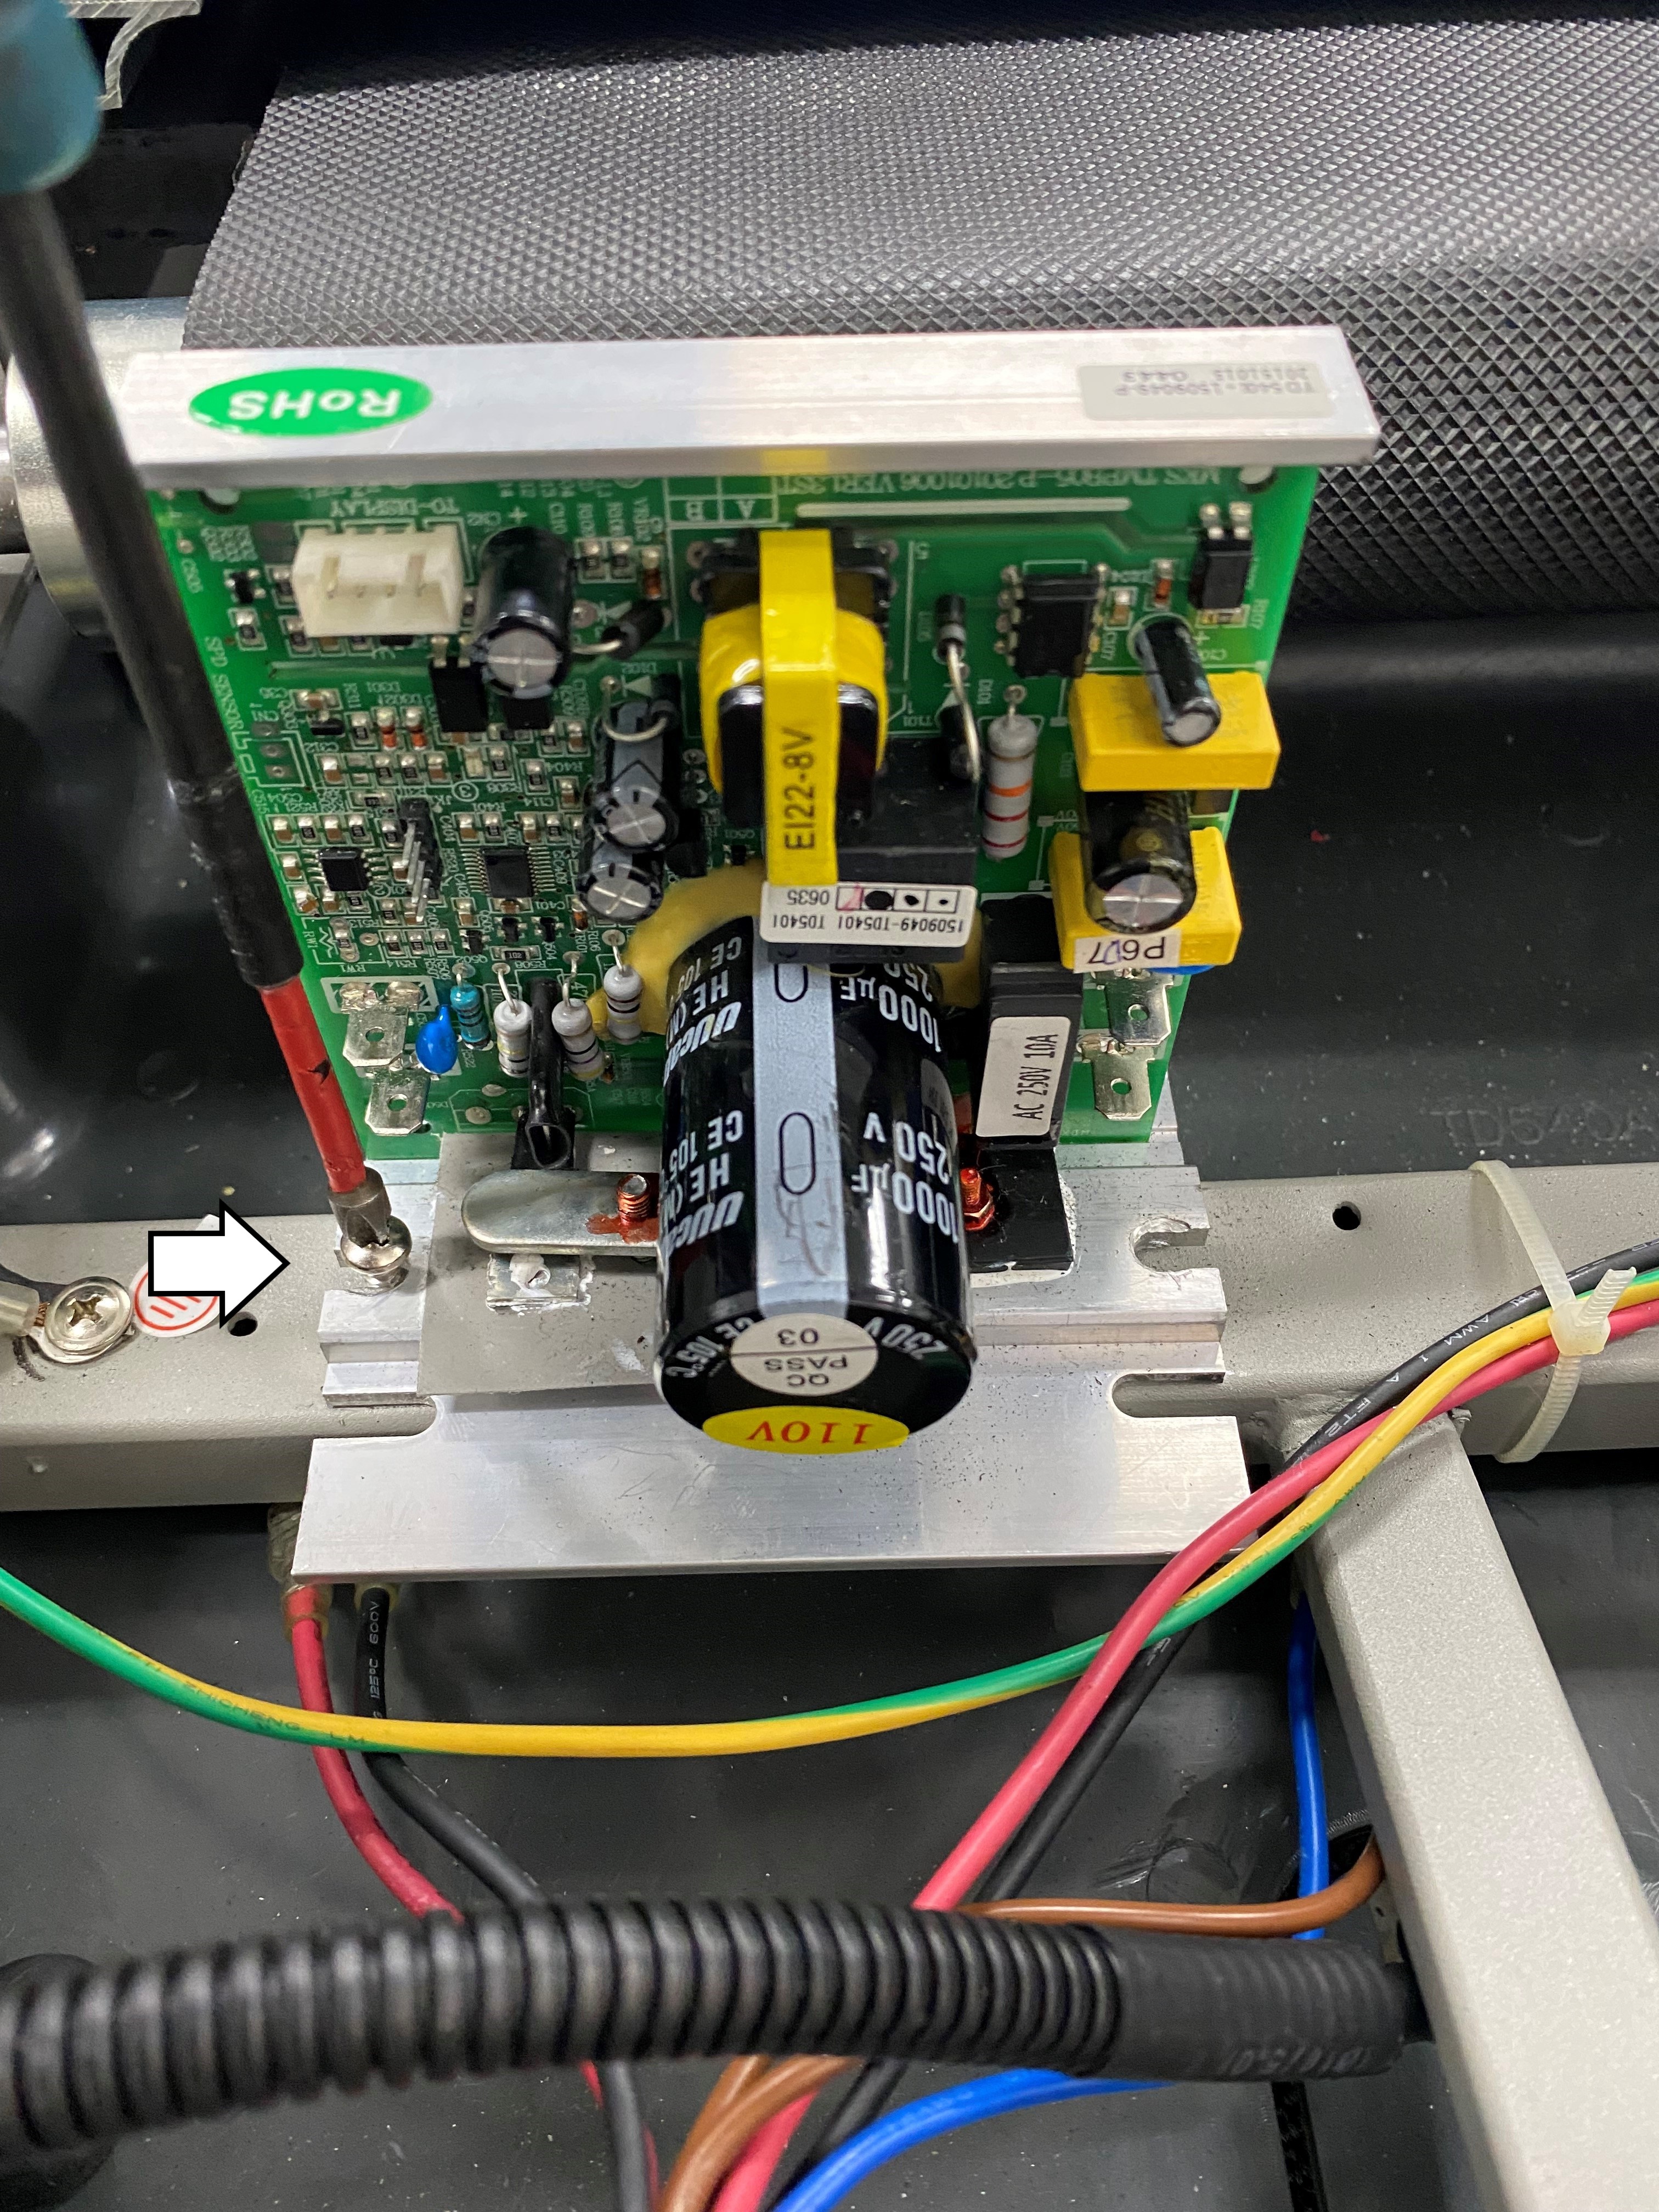
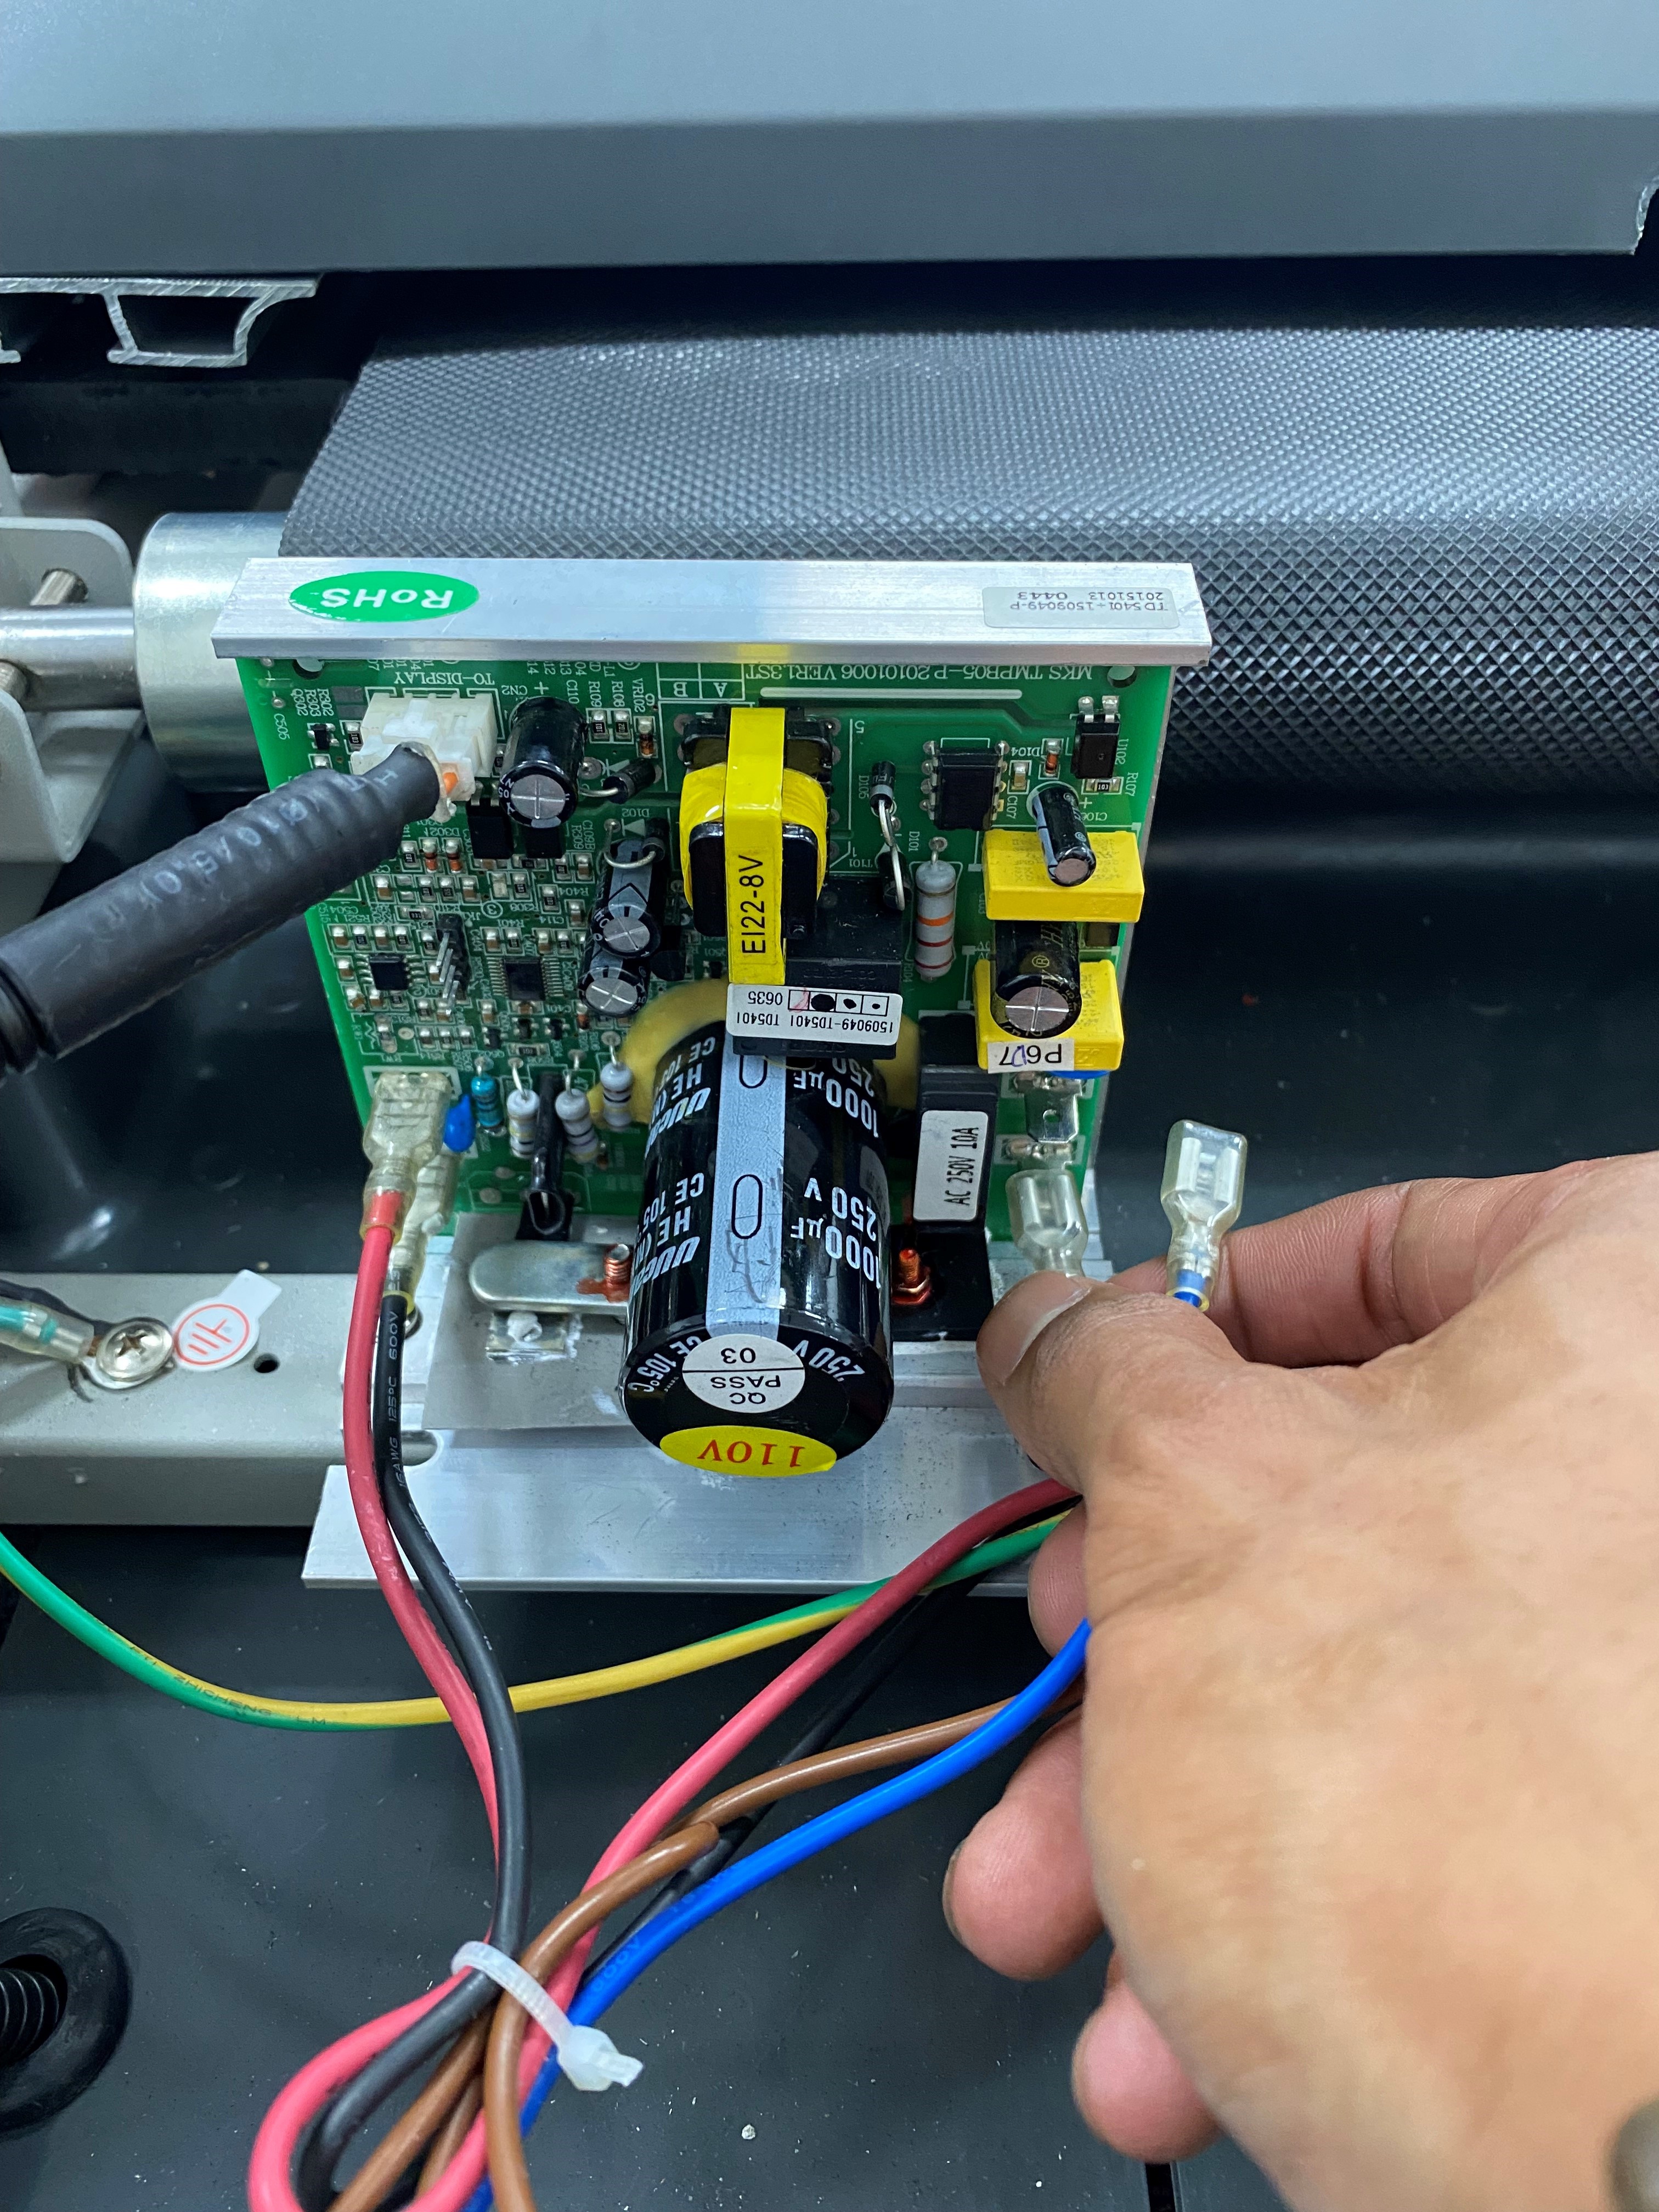
STEP 4: Unplug all of the wires from the control board optional (pliers to remove wires).
STEP 5: Remove the securing screws that connect the control board to the frame.

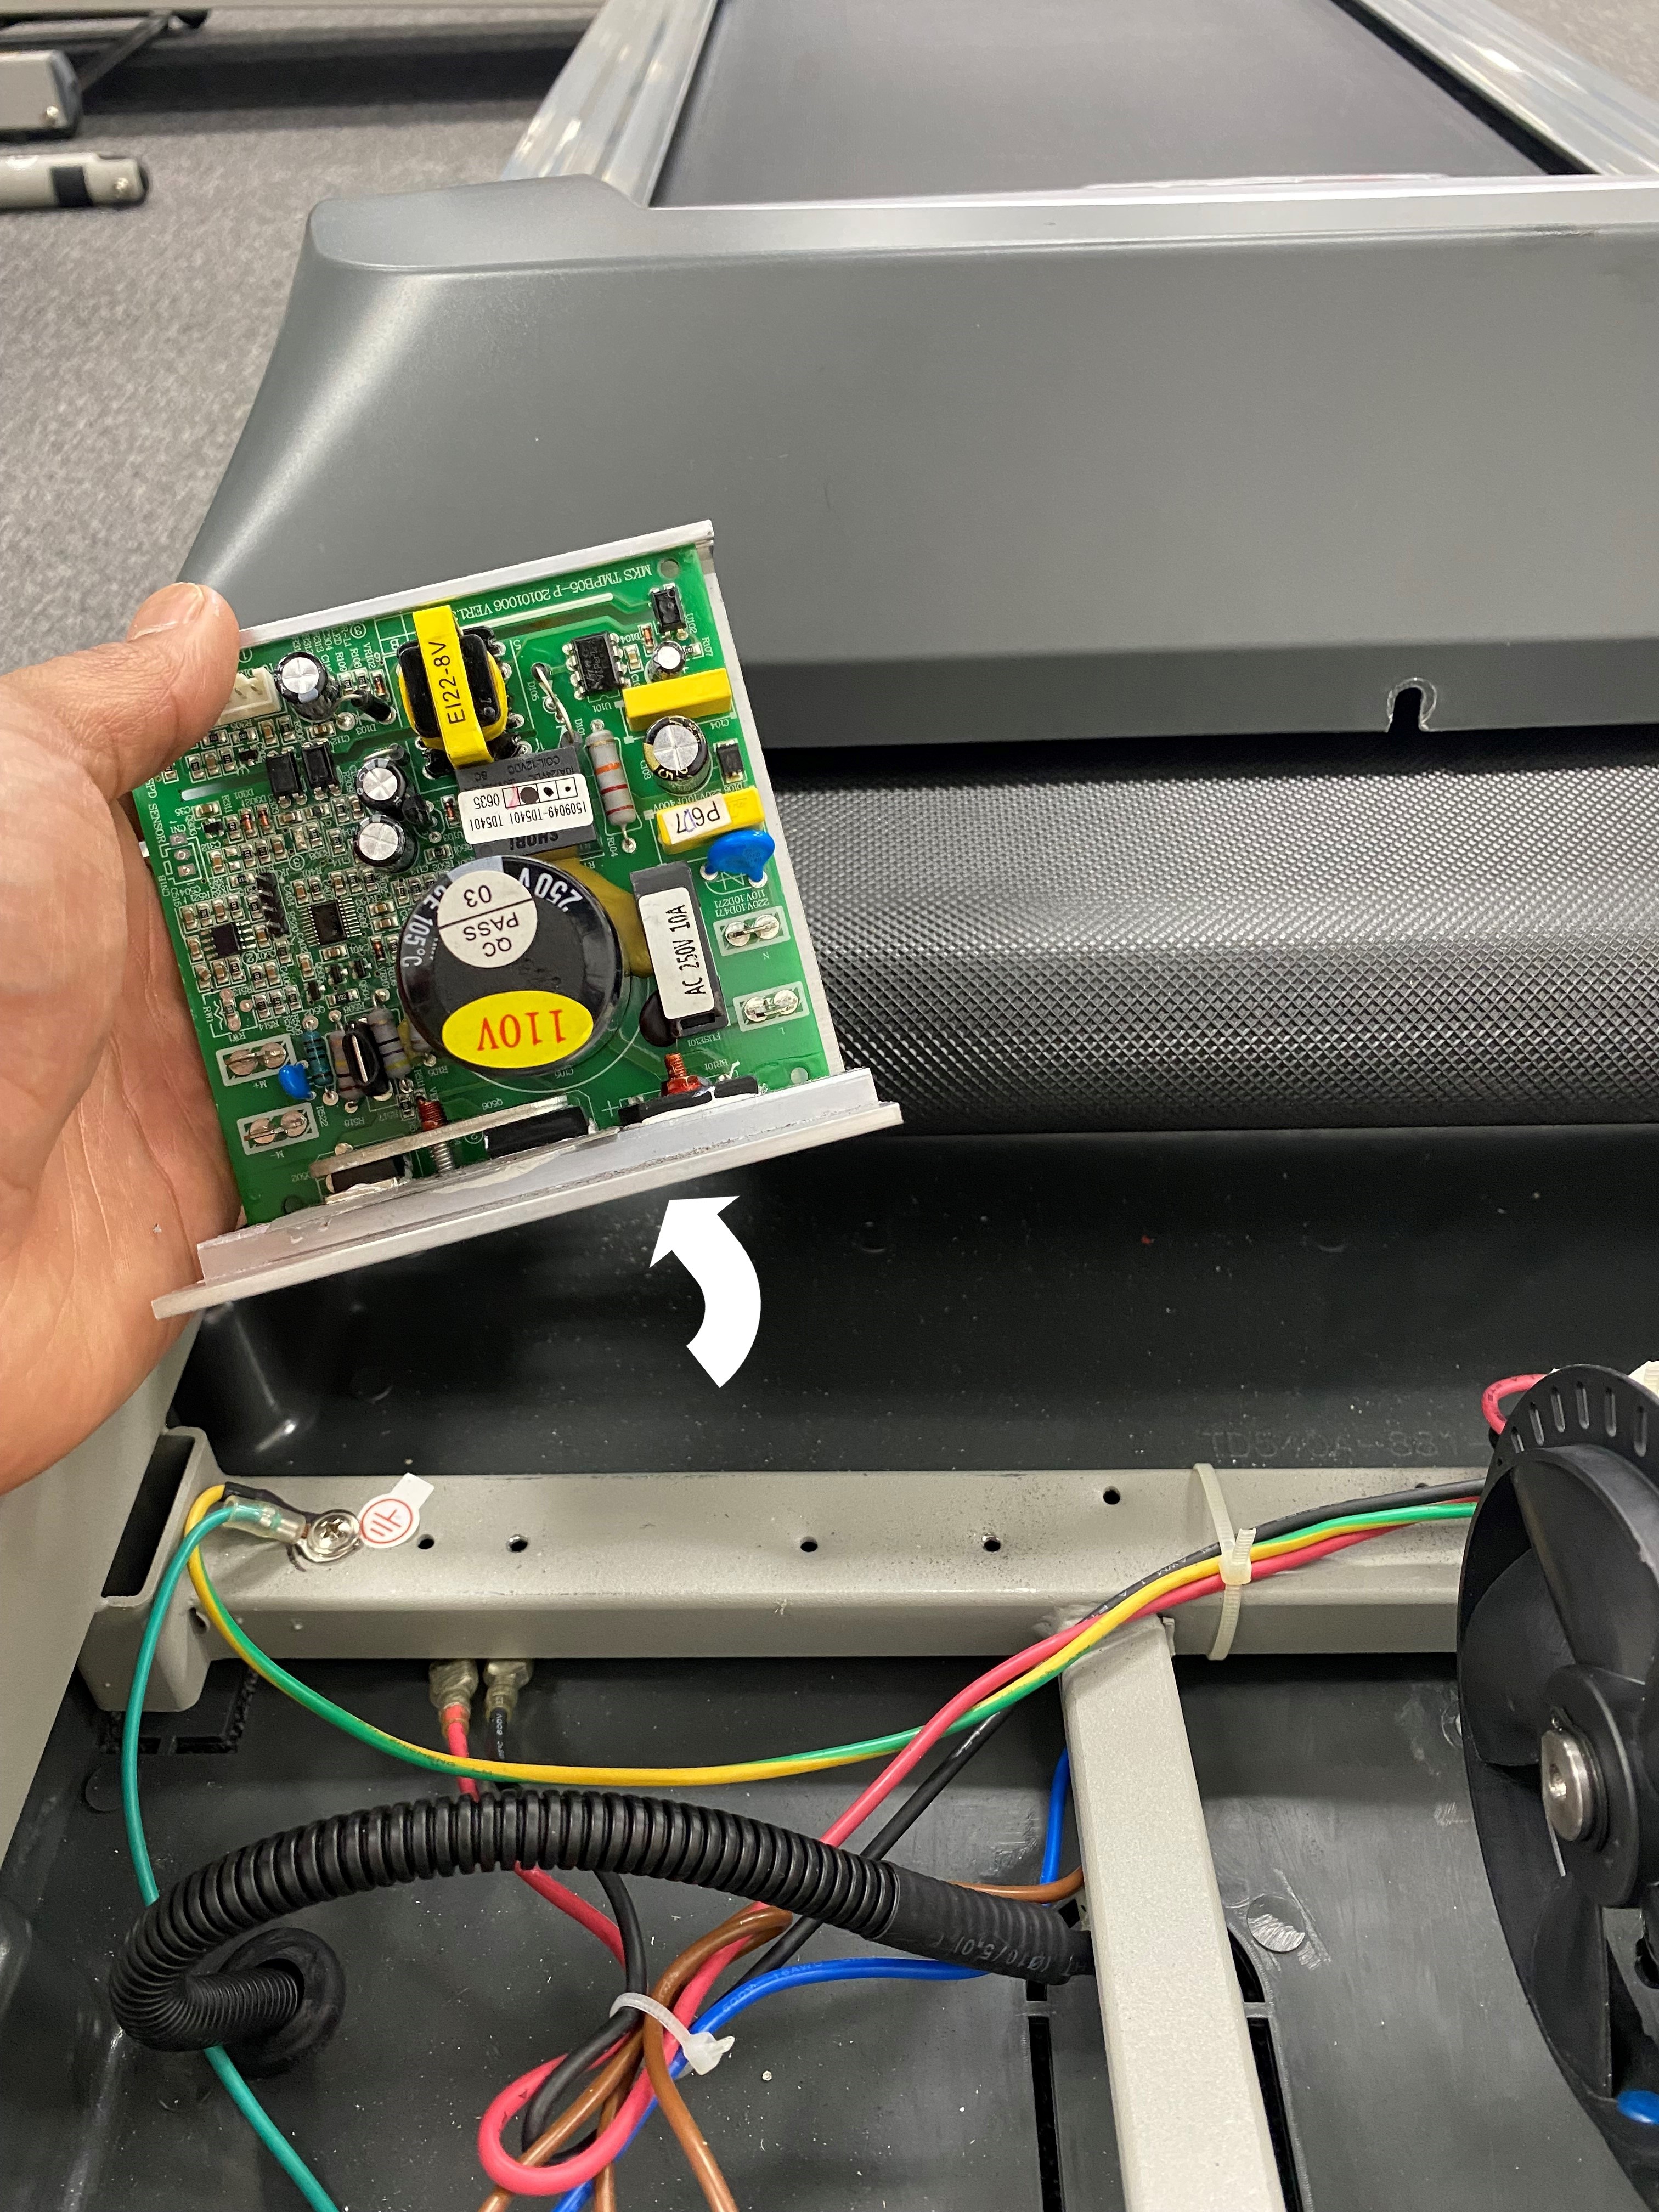
STEP 6: Remove the control board and insert the replacement board.

STEP 7: Secure the replacement board to the frame of the treadmill.
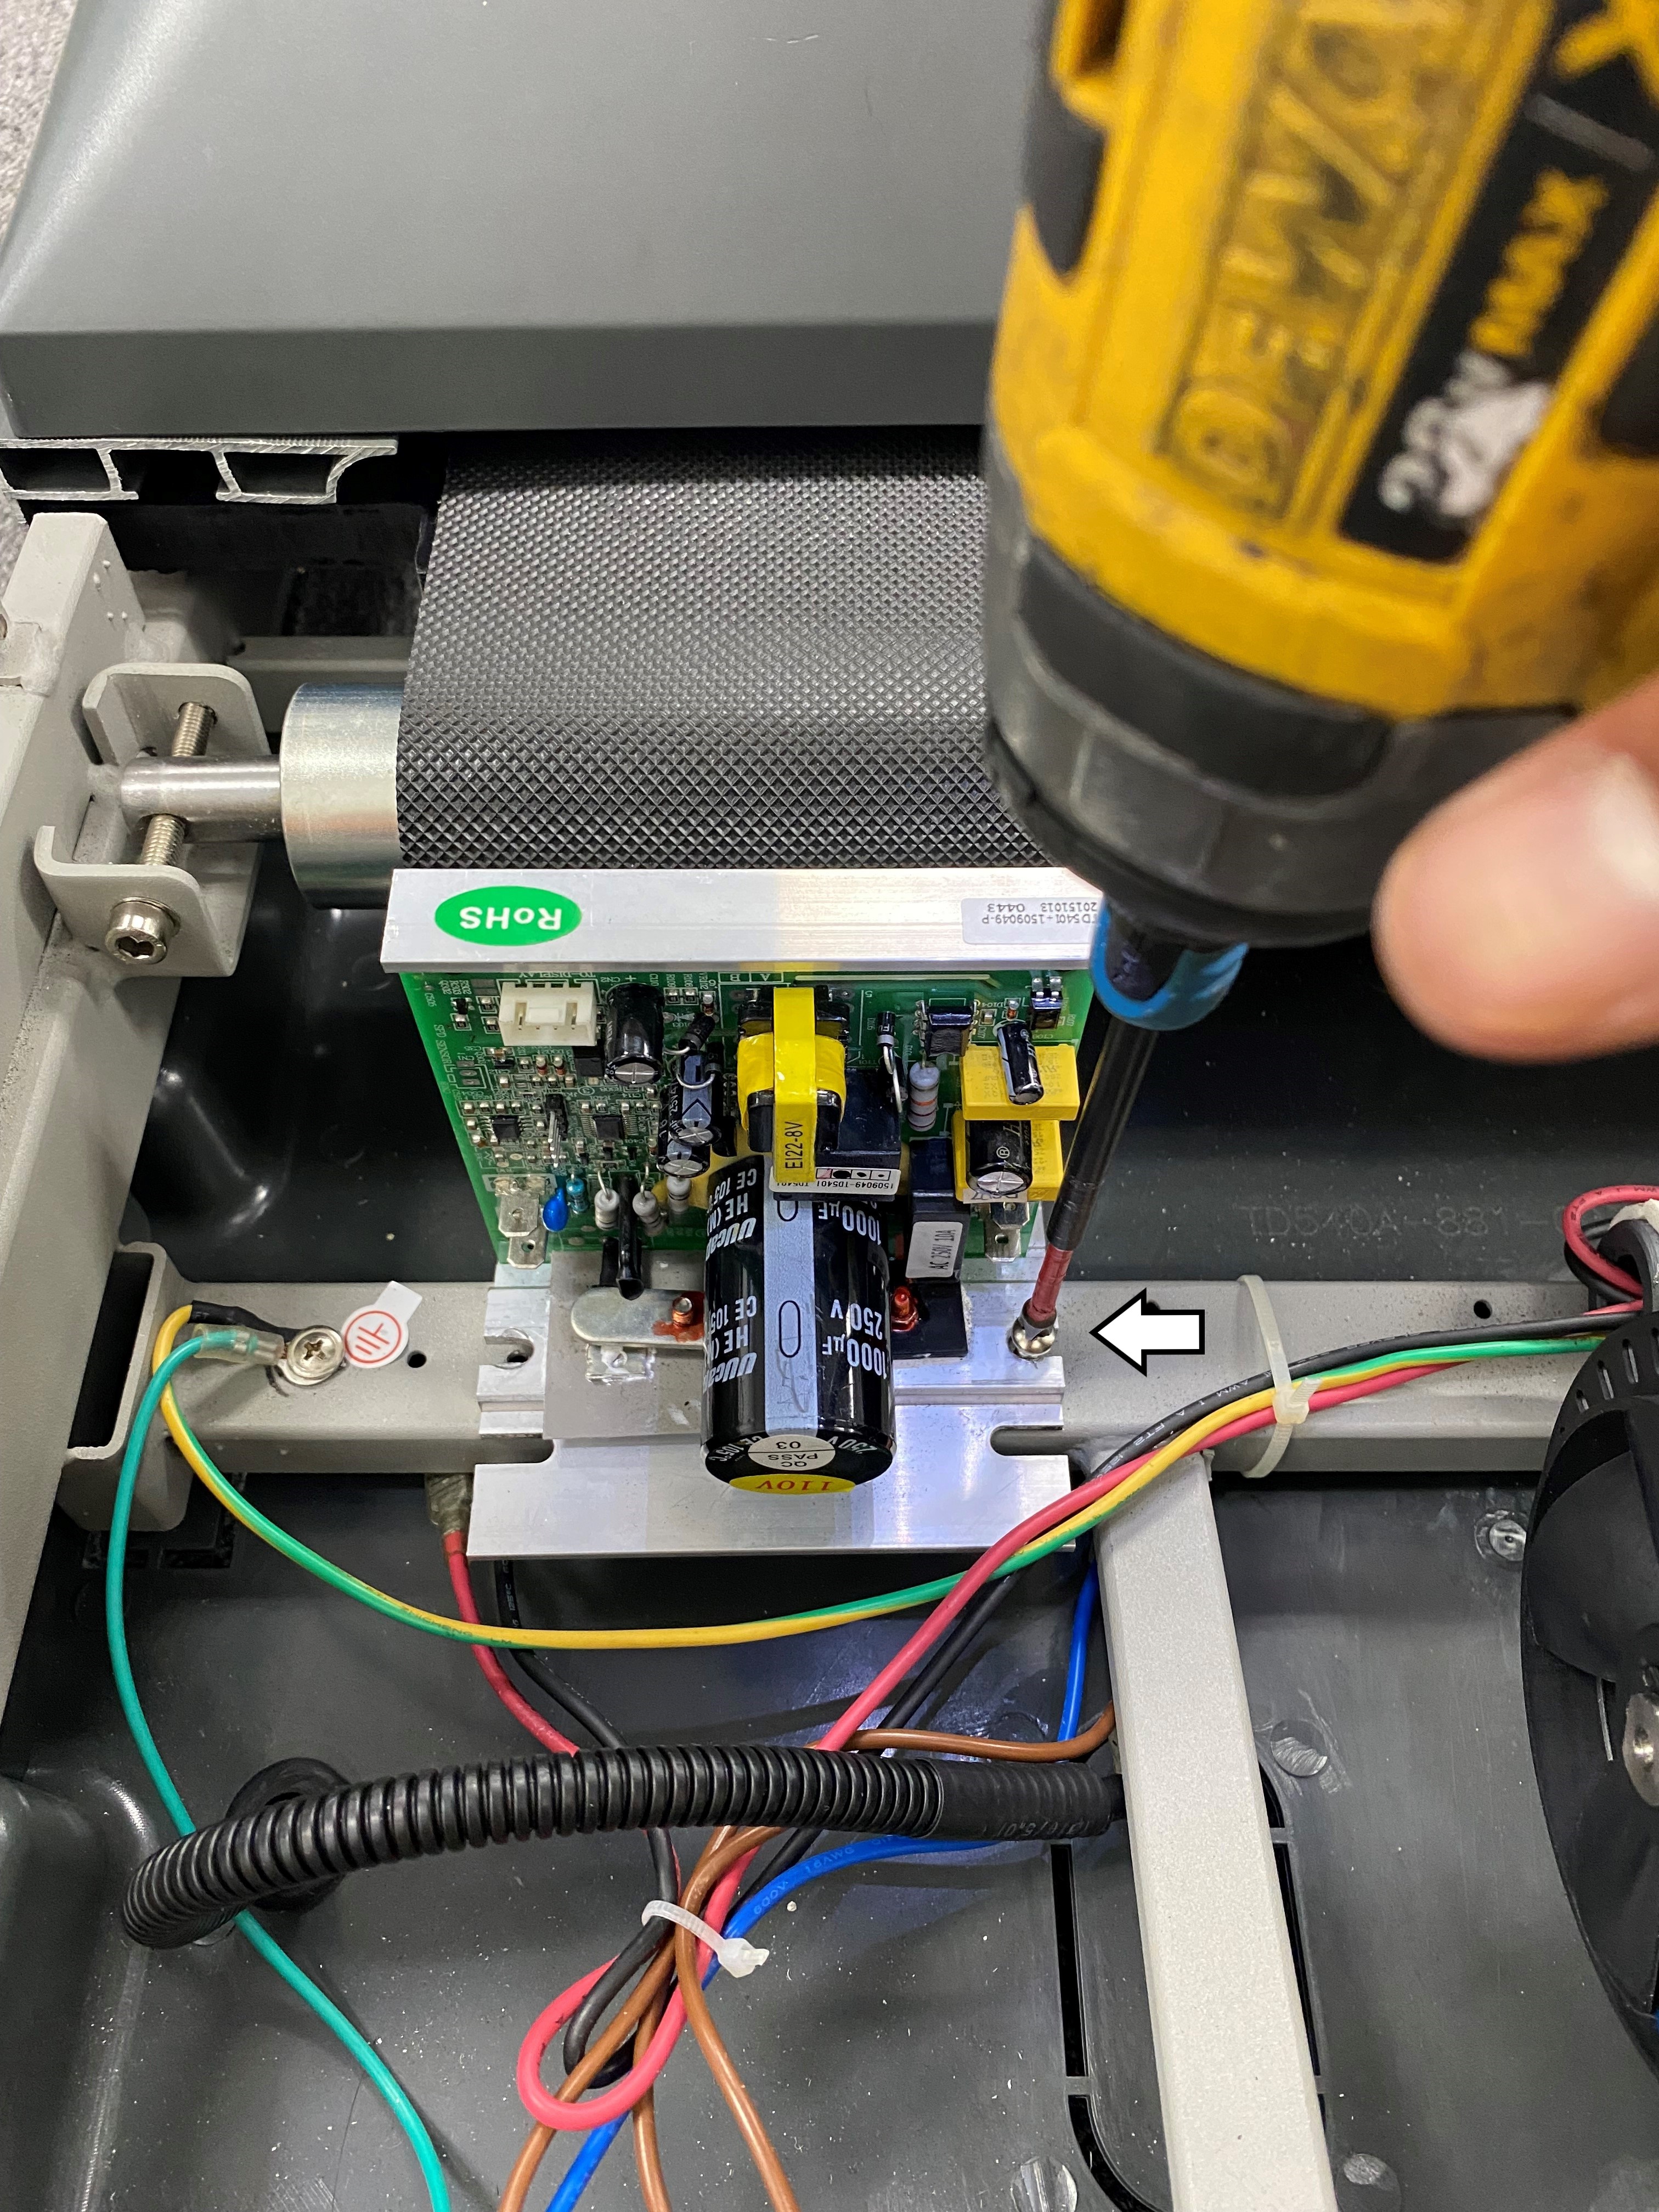
STEP 8: Reconnect the wires to the control board as shown in the photo or notes made. Wires connected to the wrong ports are a safety hazard.
For more information, please see the video below:
Comments
0 commentsArticle is closed for comments.